So, say you’ve made the jump. You’ve taken the leap, and you’ve invested in a Polar heart rate monitor.
And now, you’re hustling. You’re getting it in. You’re putting in your miles, your squats, your presses, your kicks, your dancing, whatever makes you happy. You’re putting in work.
So much work, in fact, that now your watch isn’t reading your heart rate. In fact, it’s puckering out on you completely.
You yell out in frustration. WHHHHHHHYYYYYYYYYY?!?!?!
Chances are high, it’s because the battery in your chest strap is in dire need of a new battery! That’s right, those little beauties are controlled by a tiny three volt battery that goes in the back, and I’m going to show you – step by step, photo by photo – how to change your battery all by your lonesome!
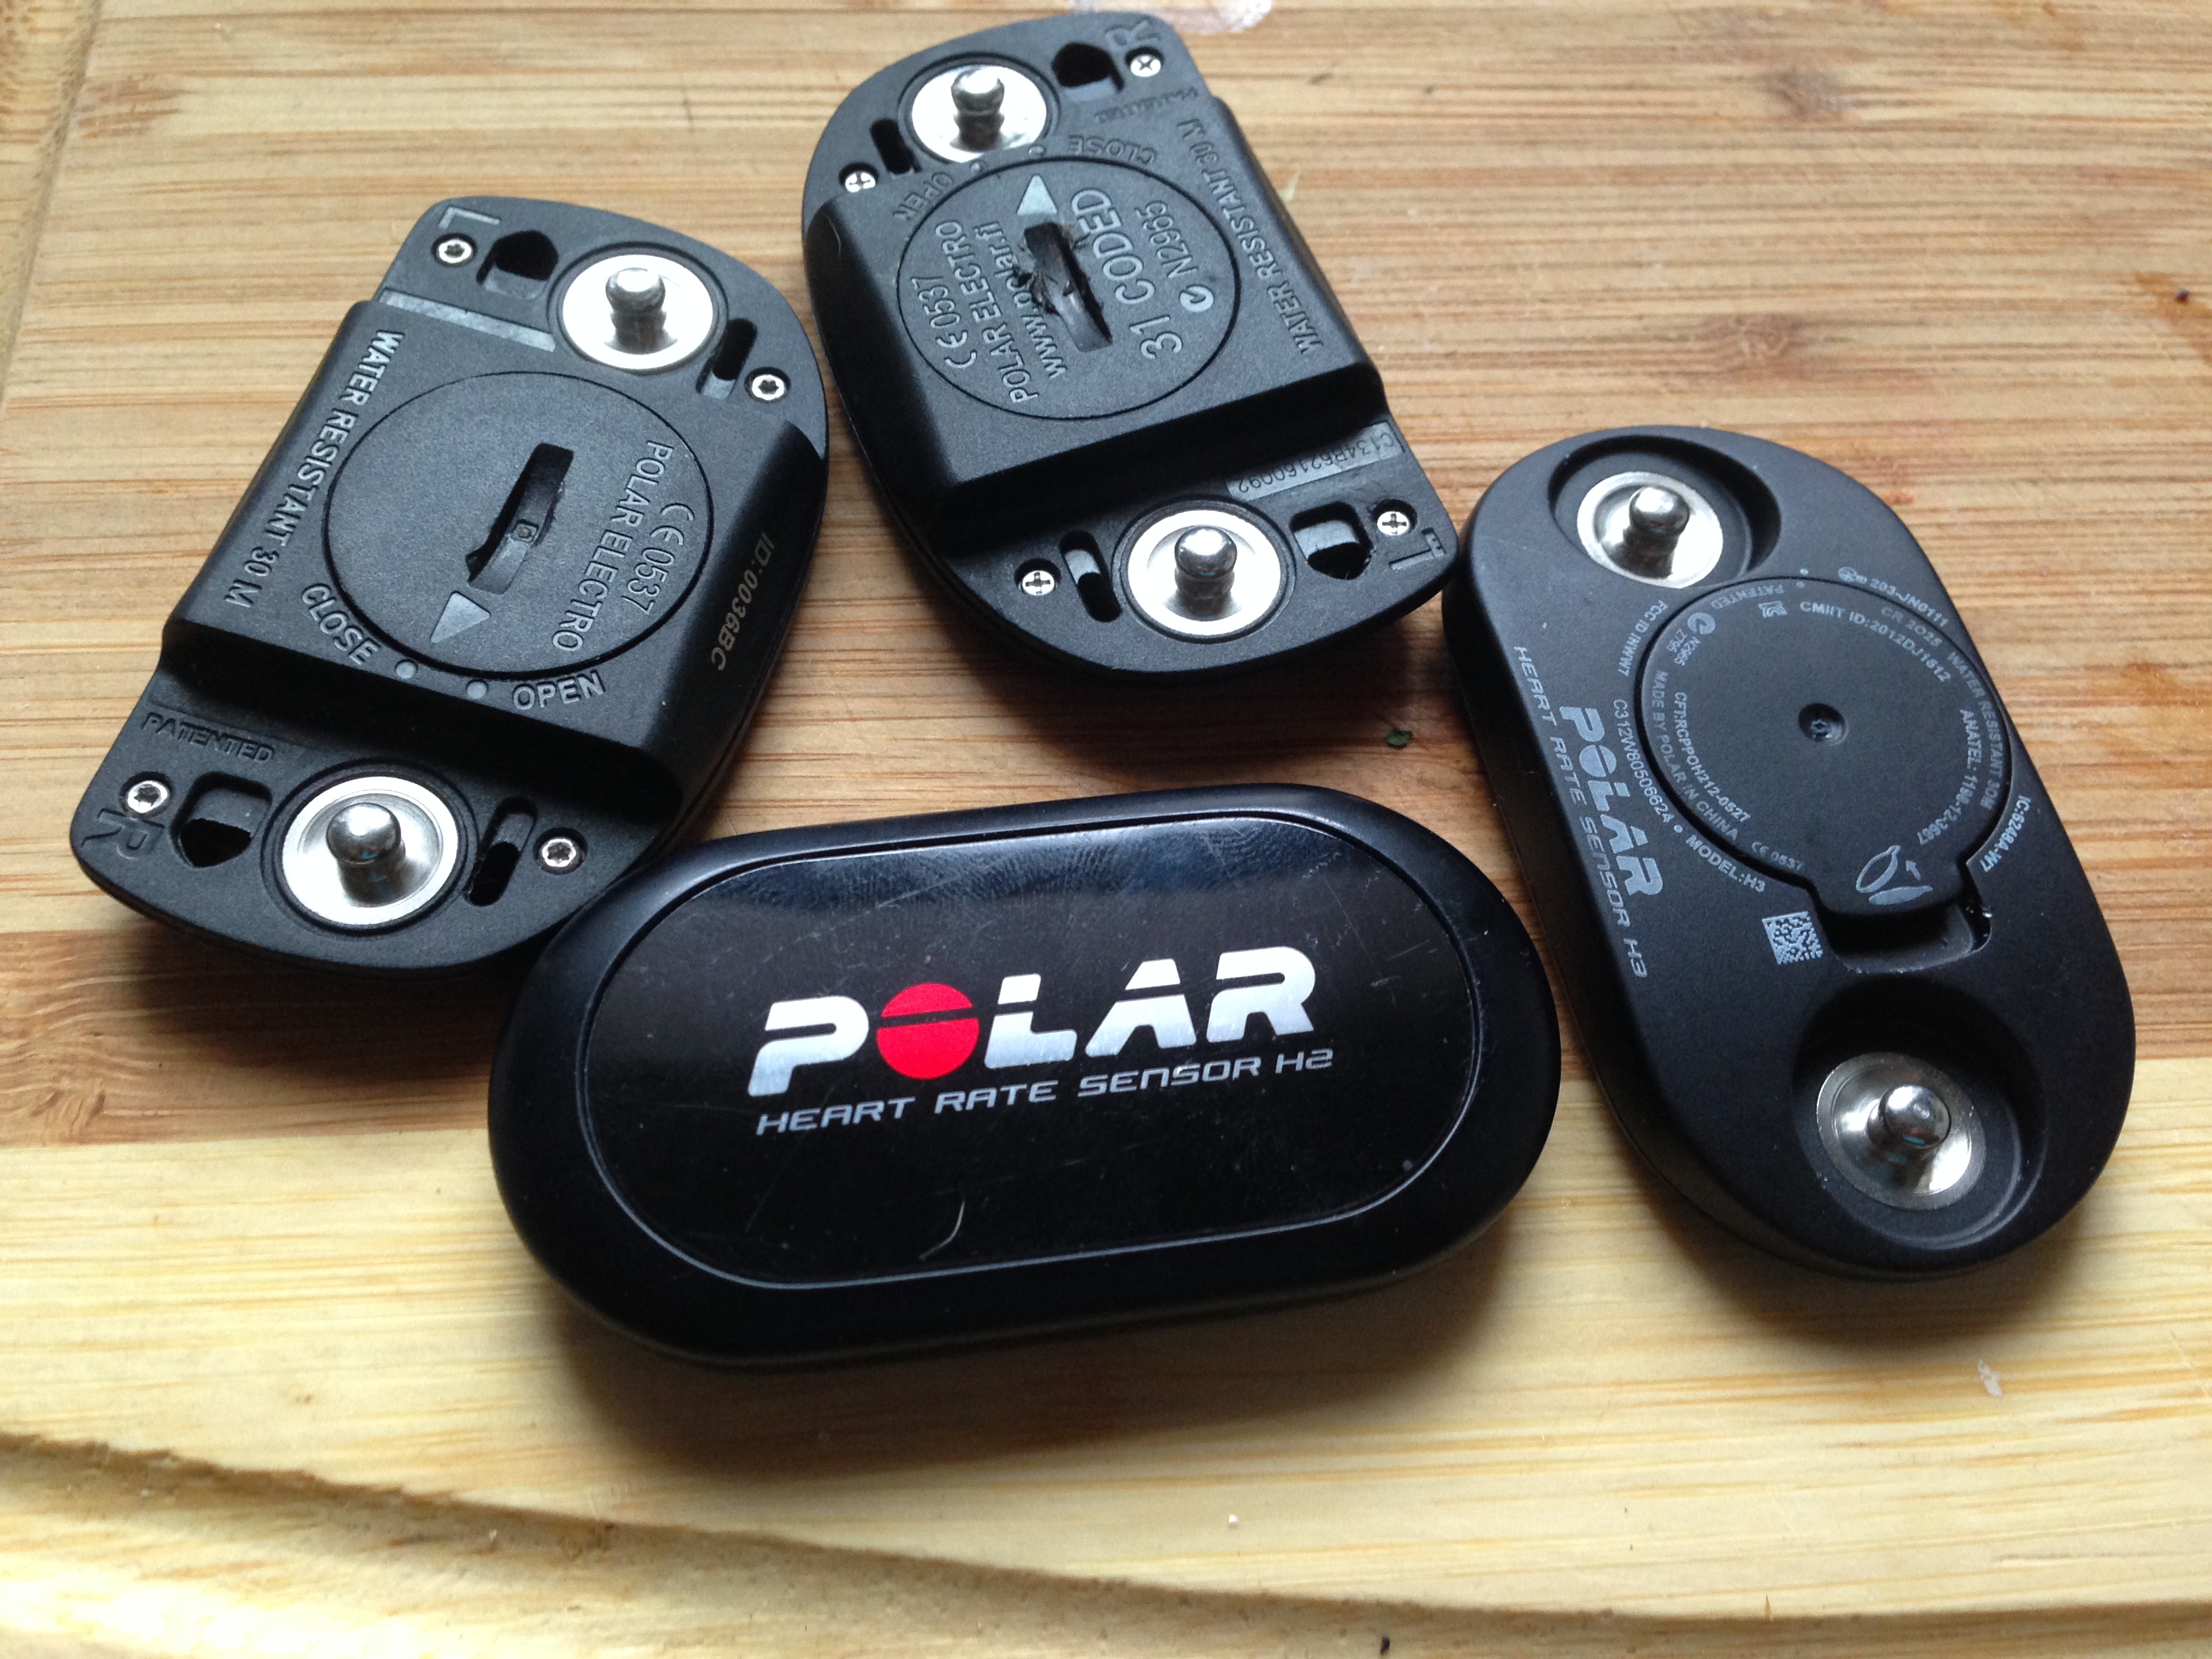
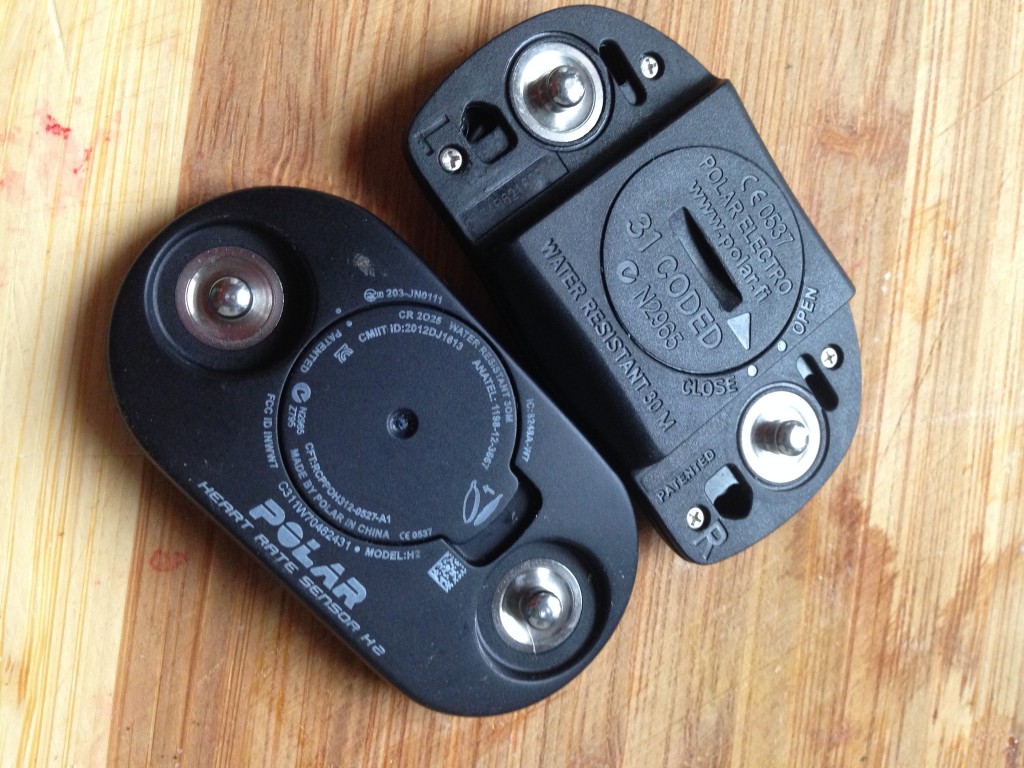
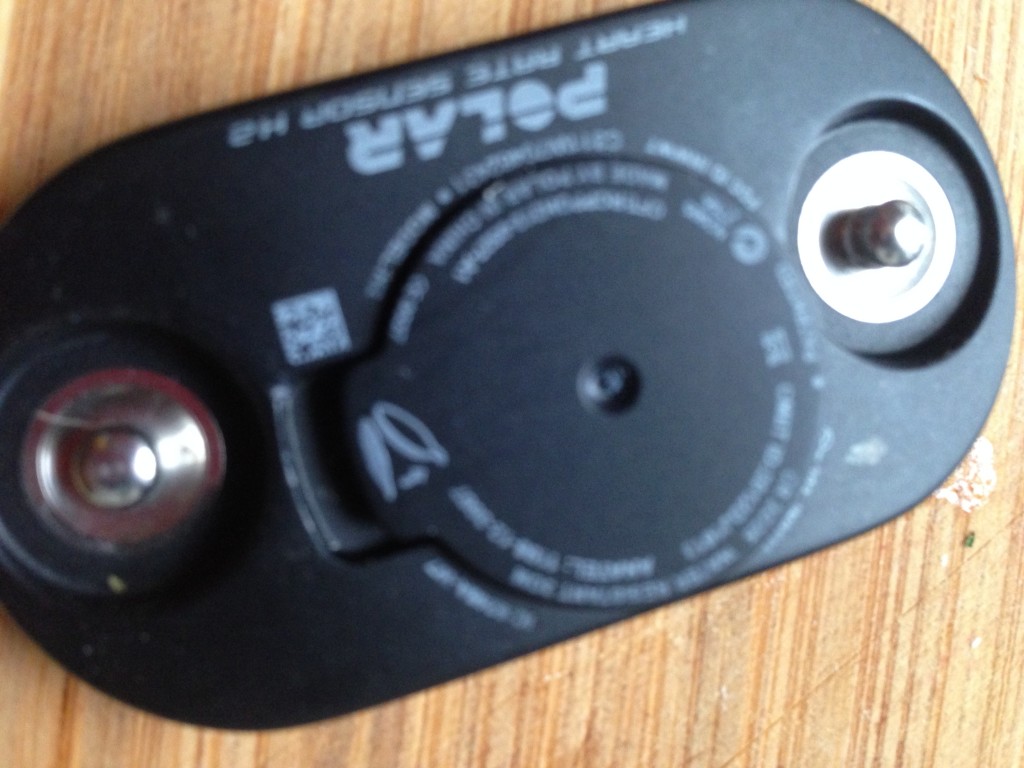
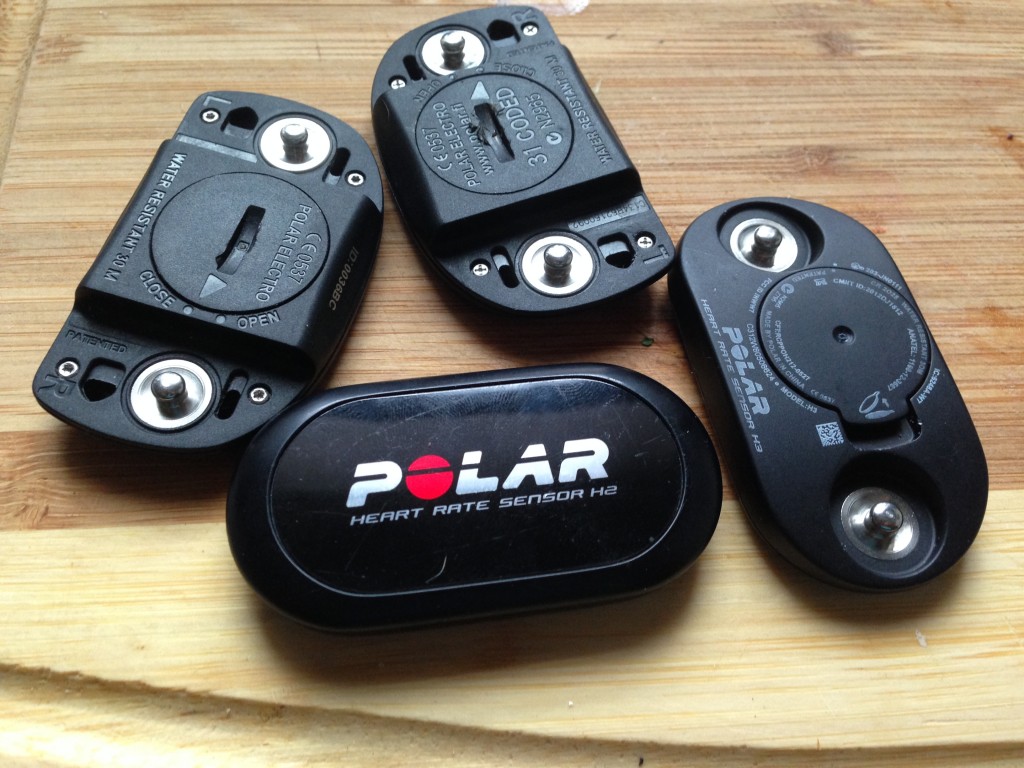
Above, you’ll find two different kinds of backings to the average Polar heart rate monitor. Detach your monitor from the strap, and lay it on a flat surface. Depending on the kind of strap you’ll have, you should have something that resembles one of these two on the back.
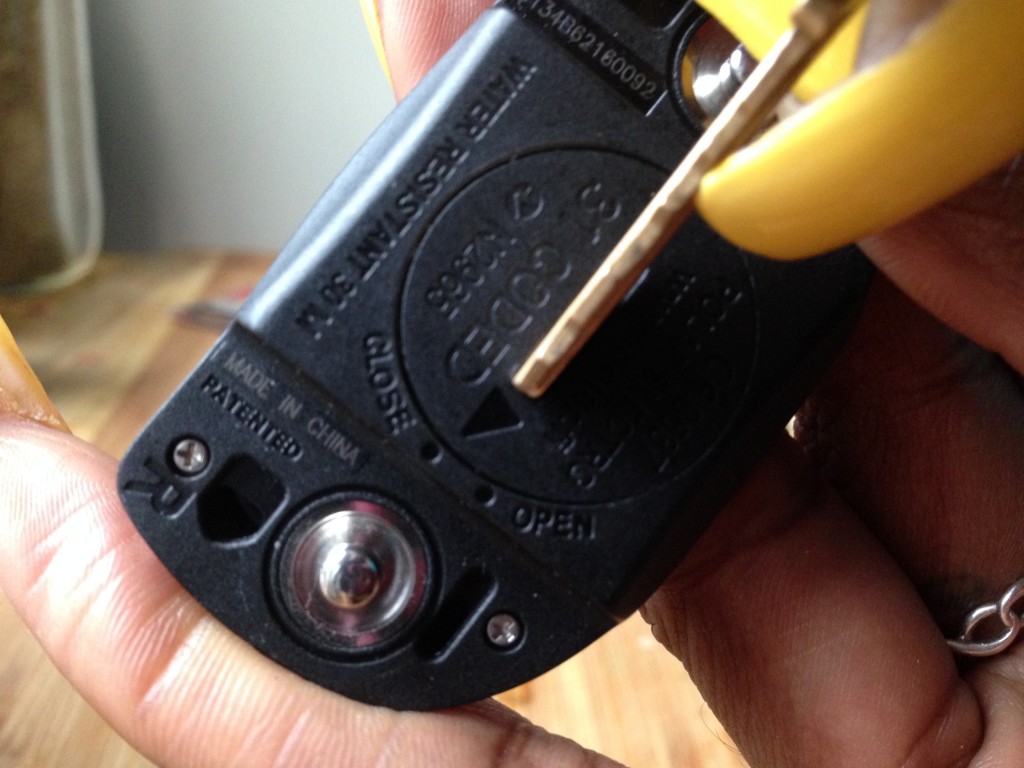
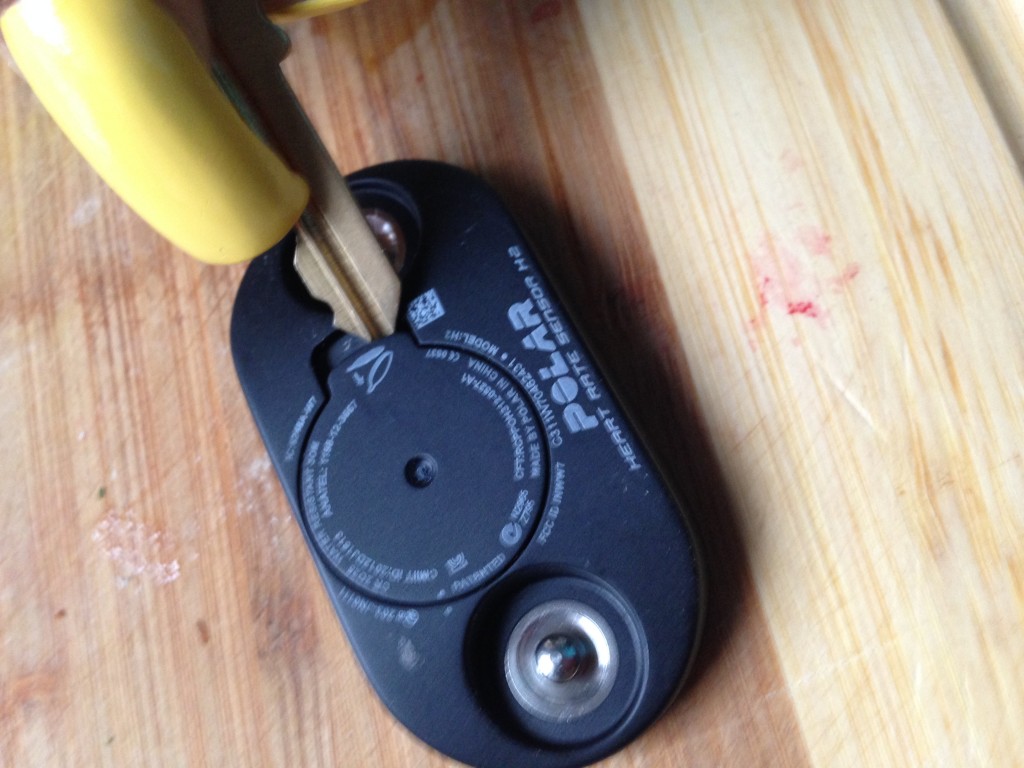
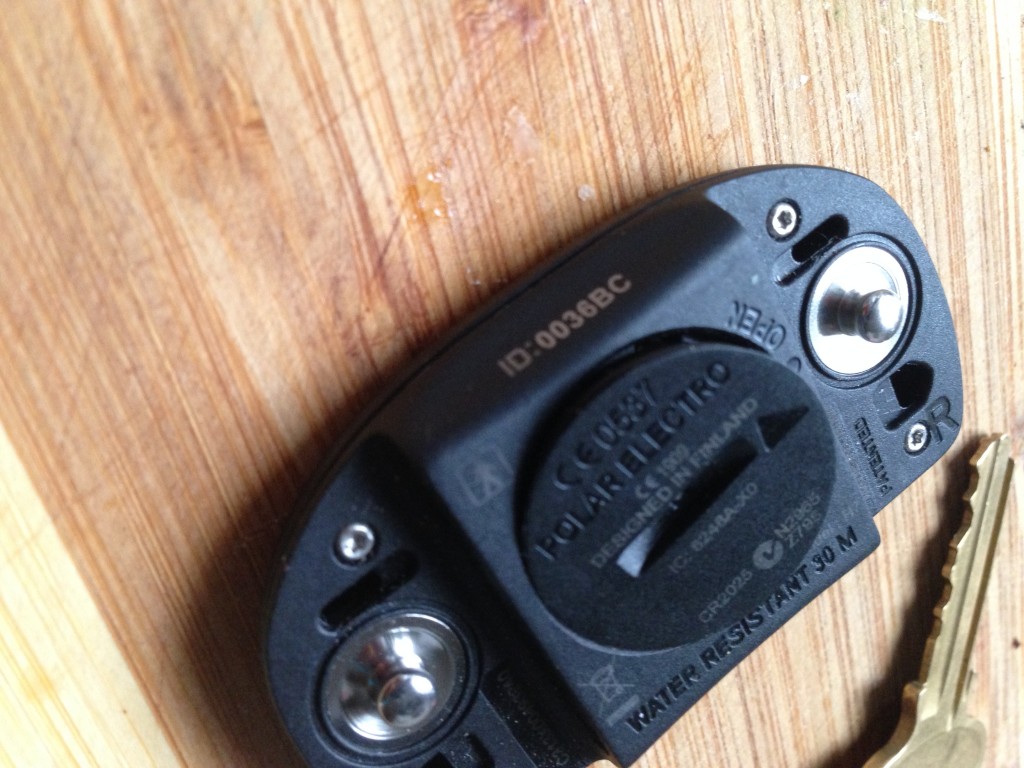
First, we’ll begin with the sliding and rotating latch. Take something sturdy, like a house key, and slide it inside of the long, thin space. Although I have it up in the air to demonstrate for the photo, you’ll need to lay it down on your flat surface to begin.
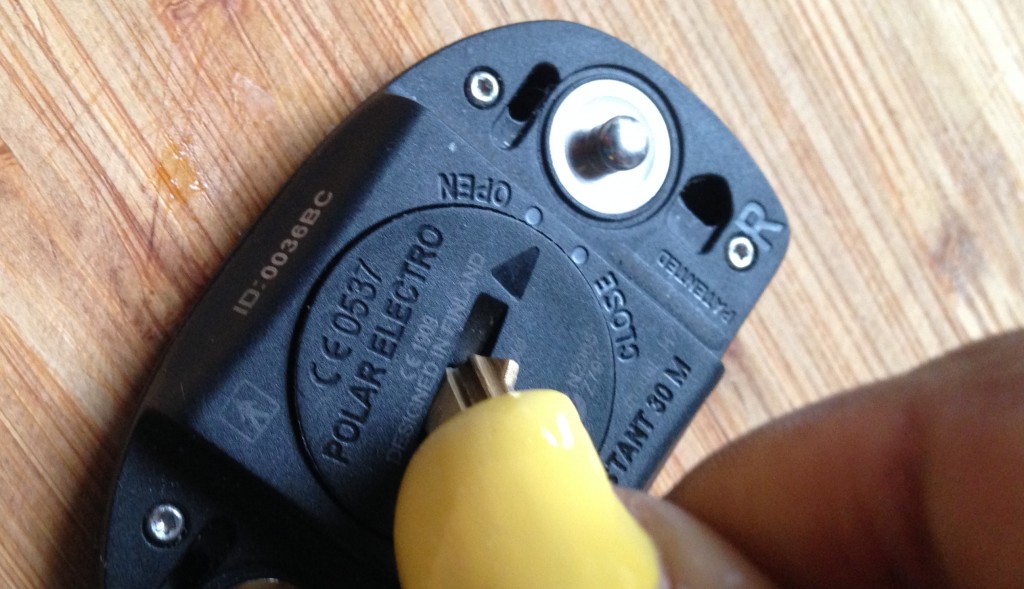
Pay close attention to the outer rim of the latch. There is a button that is marked “close” and a button marked “open.” There should also be a small arrow pointed towards the “close” button. You’ll need to use your housekey to rotate that arrow, so that it now points to the “open” section.
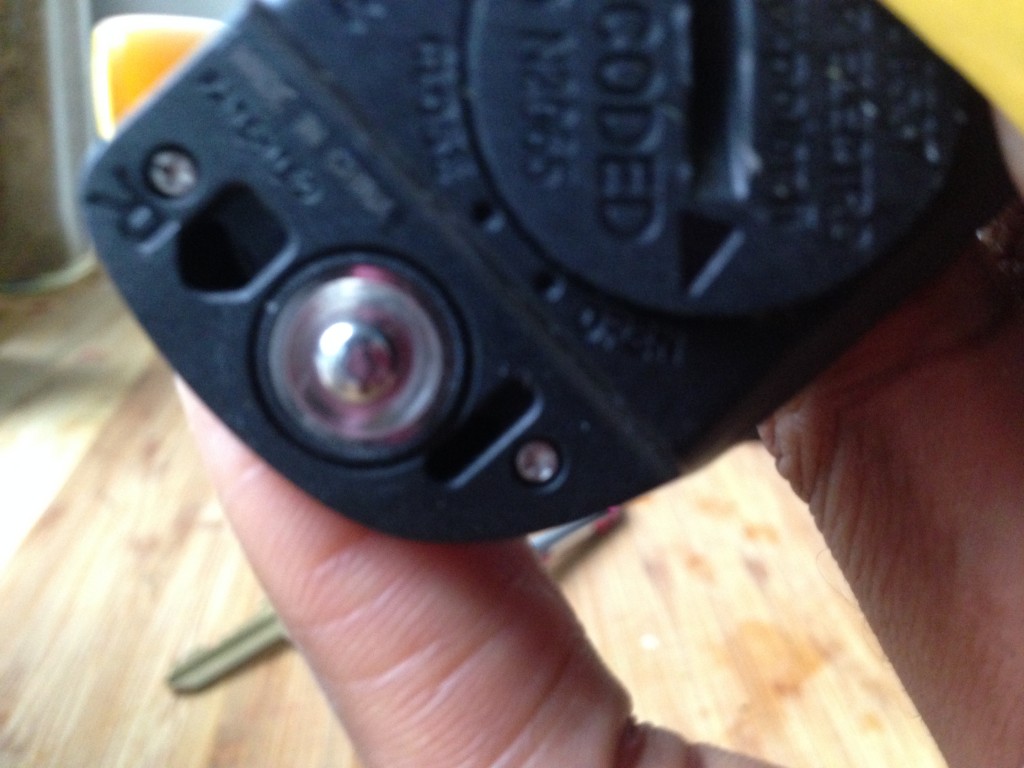
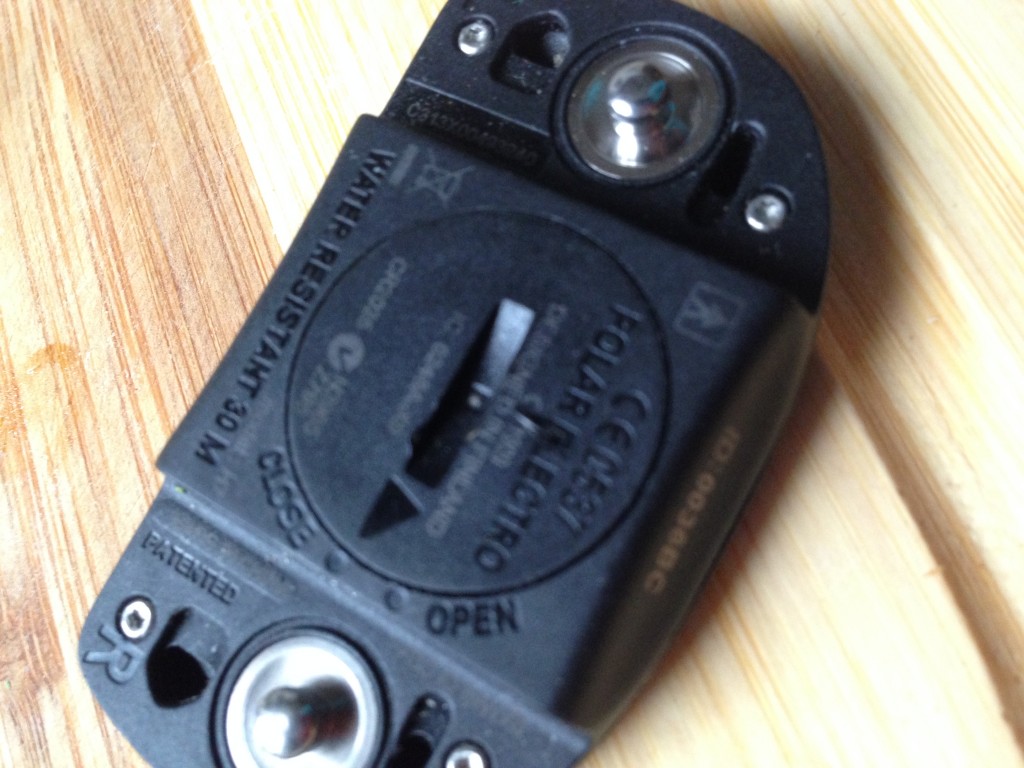
Above, you’ll see a painfully blurry picture of what it looks like when it’s fully slid open.
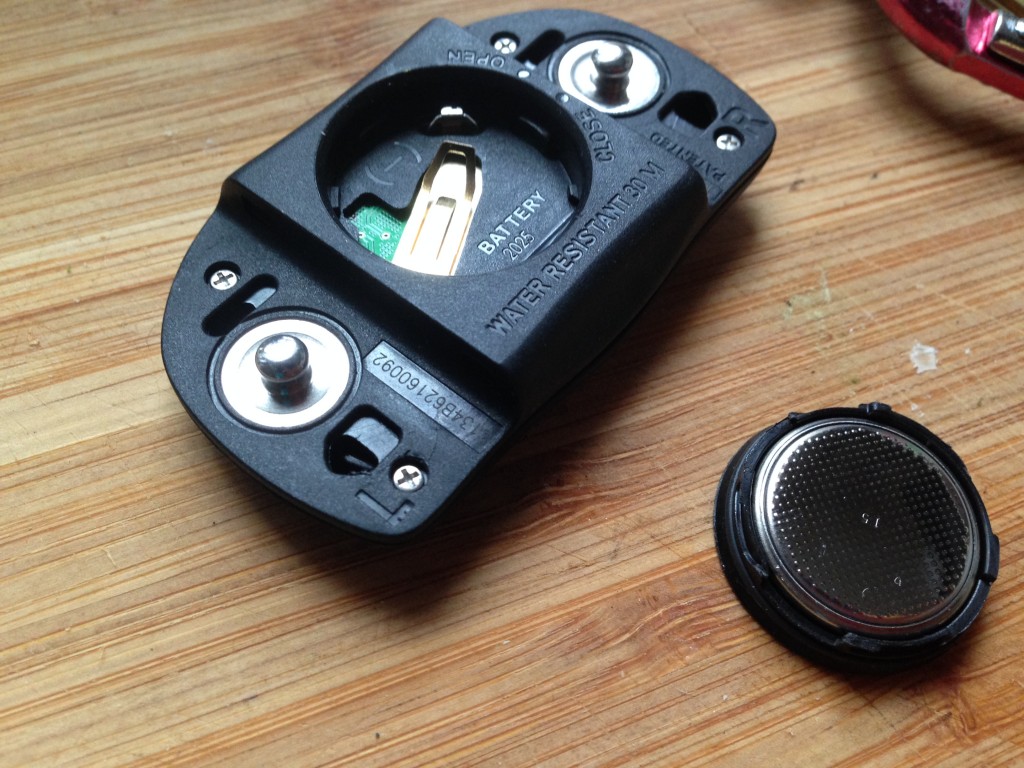
When the pieces are separated, this is what you’ve got. On the left, the signal reader. On the right, the latch cover with the battery inside.
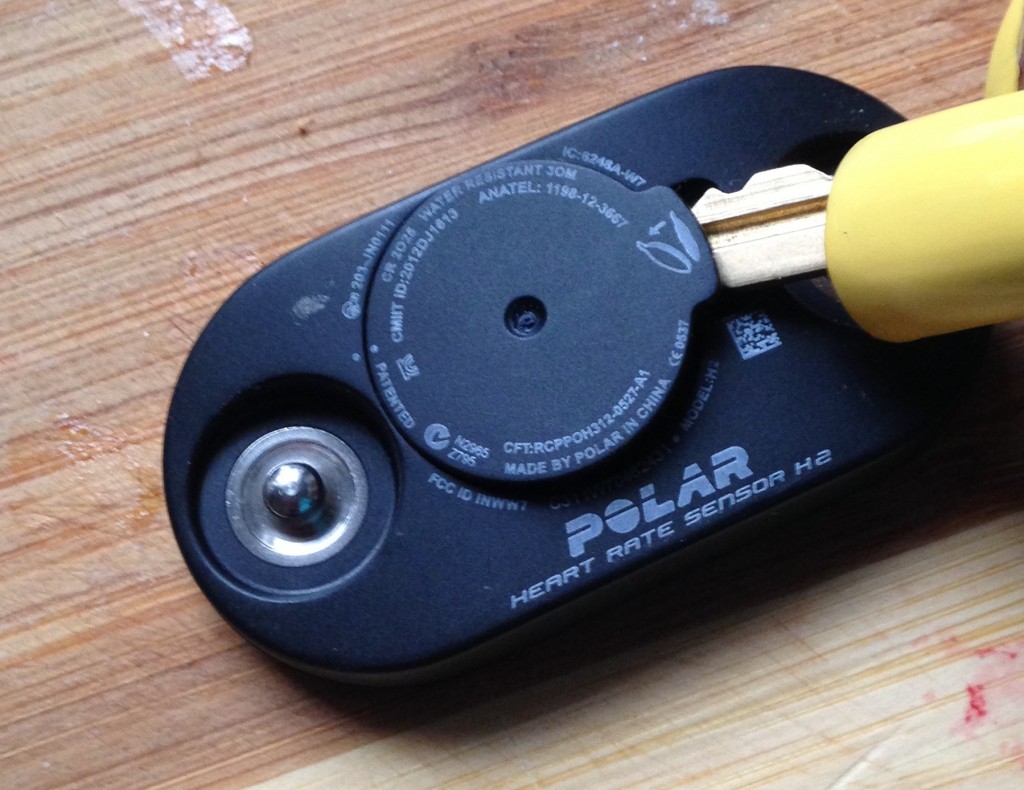
Switching gears for a moment, this backing is much easier. Slide your key inside the latch and, while pressing down on the other side for sturdiness, slide your key downward and – once lodged – lift upward.
See? Lifts right up. Much easier than the coin slot slide.
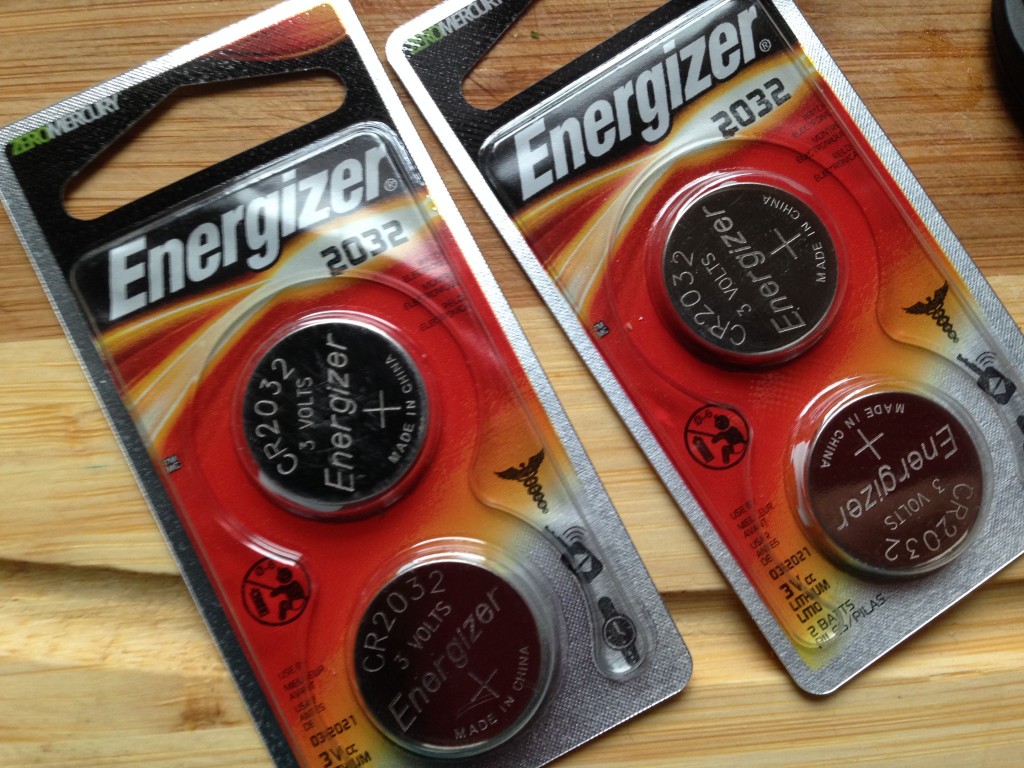
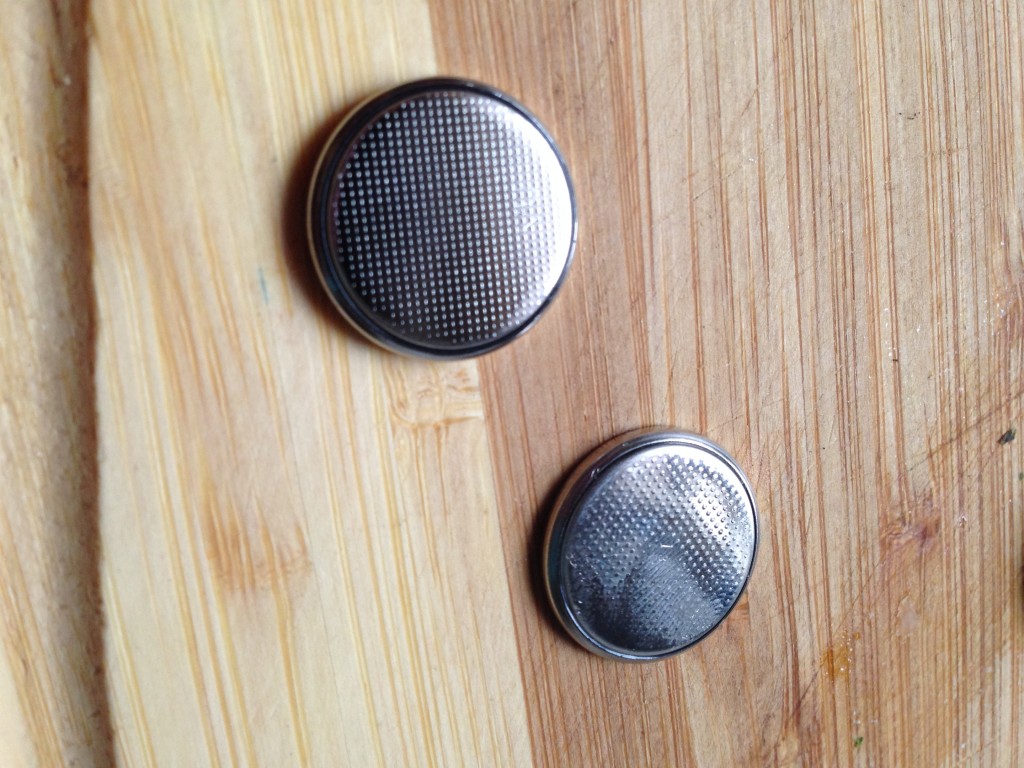
A basic 3V battery is all it takes. They look exactly like this.
They come with a paper backing covering the mesh-looking back to these batteries, similar to the mesh-looking side that appears in the earlier picture.
The battery on the bottom is the old one, the battery on the left is the new one. See? Samesies.
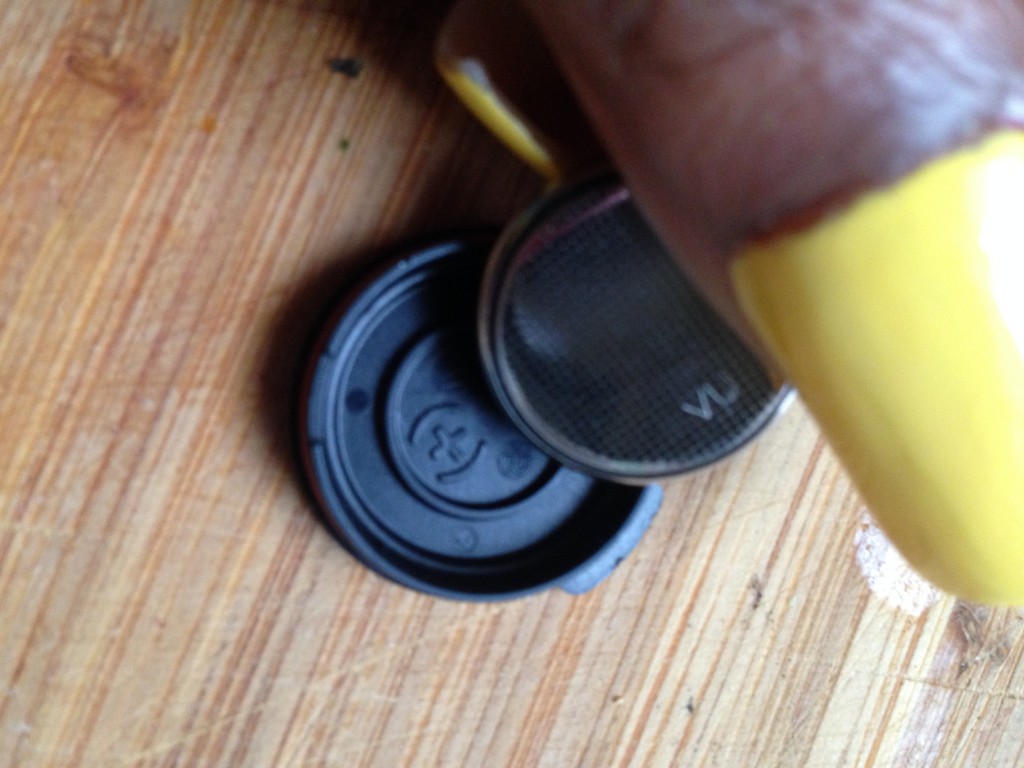
Pop out your old battery – might require something like an index card to help flip it out – and slide in your new one.
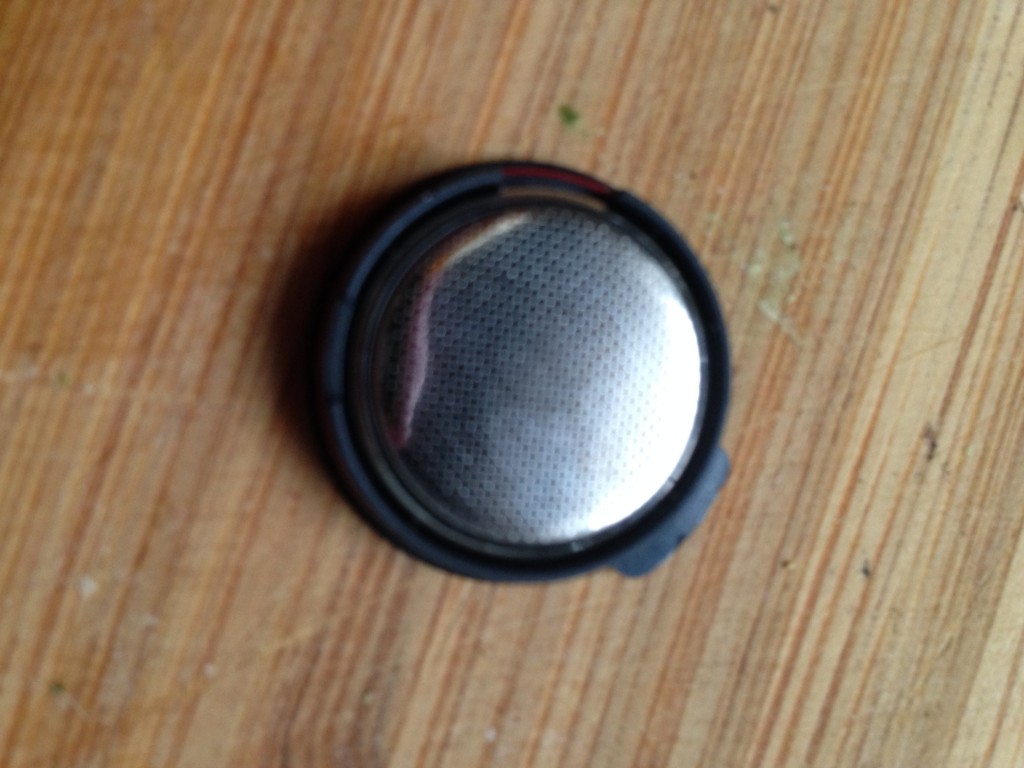
Looks just like that. Now, drop it on your…
Okay, so you’re already ahead of me! Fancy!
With the coin slot slide, use one hand to steady the unit, then press down into the slot with your key, and spin it back towards the “close” button.
You have to make sure that you press down on your key hard enough as you spin, because it needs to screw into place.
And, before you know it? You’re all set! That is, unless you’re like me, and you’ve got multiple chest straps for multiple watches that need work.
In that case, you might be busy for a little while!
Have you had to do this on your own before? Do you have any tips for making the process a bit smoother? Any questions? Let’s hear it!


2 comments
OMG. Bless you for doing this as I am in this predicament right now and there is apparently only ONE place in all of Toronto that I can go to replace it. But I have a question – isn’t there supposed to be a sealing ring or something that you have to replace too?
Nope! The sealing ring, if I’m not mistaken, is for the actual watches, not the heart rate monitor itself. 🙂
Comments are closed.