In my household, growing up, pancakes were something we got when Mom didn’t have a jam-packed day of “runnin’ round” to do.
On that rare occasion, when all we had planned was sleeping late that morning, I could look forward to coming downstairs and begging Mom to make us pancakes.
And, man… when she would pull out that little yellow bottle, my heart would jump for joy.
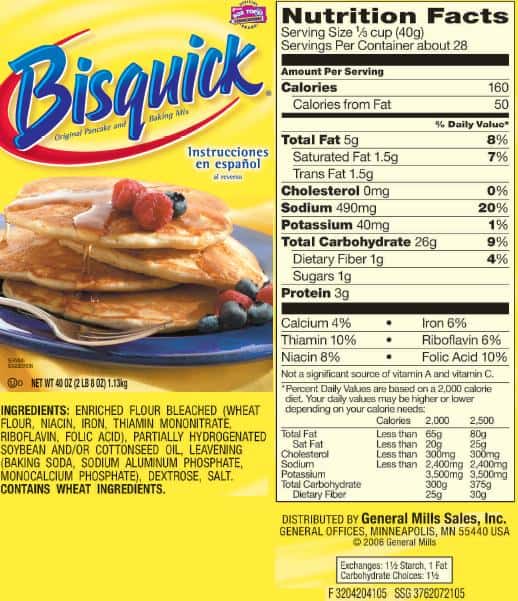
I still have that attachment to pancakes, but that little yellow bottle? Hmmm, not so much:
The nutrition label tells the tale: a half of a cup of dry mix – which might be one pancake – has a gram and a half of trans fat in it. If the FDA recommends less than three grams of trans fats in your daily diet, and one pancake has that much, then the idea of eating a stack of three? That’s a wrap.
If I were going to continue my love of pancakes, I’d have to learn how to make them from scratch.
And learn, I certainly did.
I know, I know…protein pancakes, gluten free pancakes, potato pancakes — I get it. Trust me. And I actually love exploring all the many ways to enjoy pancakes…but you’ve got to start somewhere. I, personally, started with the OG.
For my pancakes, you’ll need 2 large eggs, 1 and 1/4 cup of milk, 3 tablespoons of melted butter, a cup and a half of all-purpose flour, 1/2 teaspoon salt, 2 teaspoons baking powder, 2 tablespoons brown sugar, and a pair of mixing bowls. You can also add half a teaspoon of cinnamon and two teaspoons of vanilla in there as well for great flavor, but they’re not necessary to get the basic pancake down pat. If I use my 1/4 cup measuring cup, I can get a good 8 pancakes out of this recipe. If you need more, double accordingly. The recipe freezes well, but doesn’t last long refrigerated.
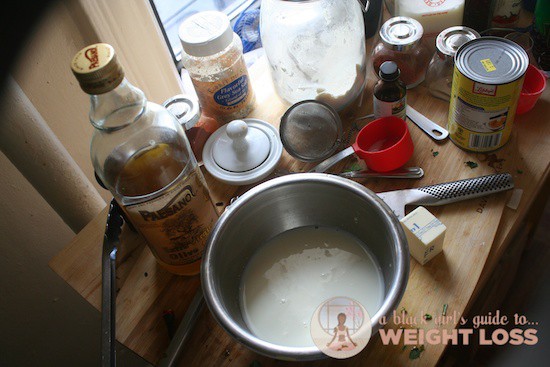
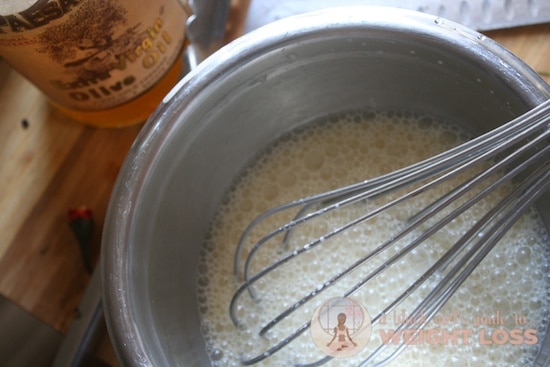
Your first step is to dump your wet ingredients into one bowl together – that’s your eggs, your milk, your vanilla, and your butter. You’ll take your whisk and whip the entire mixture until it has a frothy layer of bubbles on top.
See that? That’s your frothy layer of bubbles.
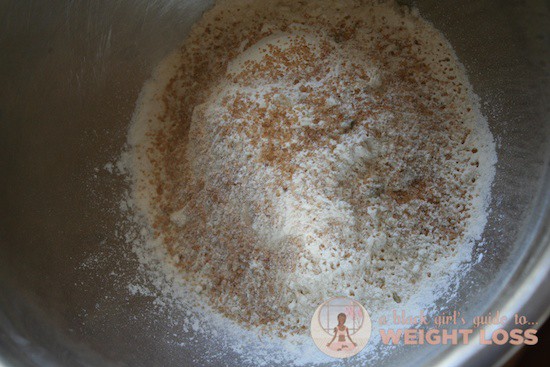
Then, you’ll take your dry ingredients and mix them together in a separate bowl. With another whisk (or a fork, whatever), you’ll mix these ingredients together so that everything is as close to “evenly distributed” as possible.
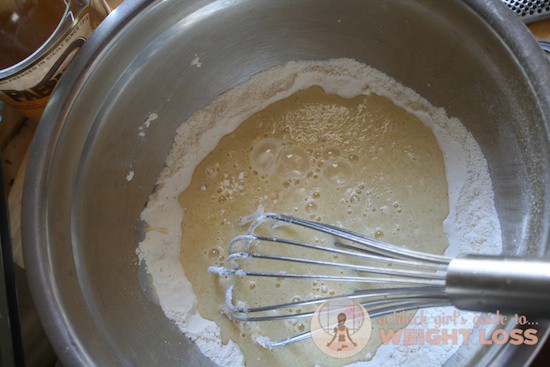
Now, pour your wet ingredients into the center of your dry ingredients, and whisk them quickly. Too much stirring will produce tough pancakes, but too little stirring will result in clumpy batter with random dry clumps in it. Basically, don’t be scared of it, but don’t be too aggressive, either.
This is the point where you let your batter “rest.” I originally wasn’t doing this, but in The King Arthur Flour Baker’s Companion, it broke down the process of why I was getting such rubbery pancakes:
Pancakes, like muffins, rely on both fat and gentle handling for their tenderness. Once flour is combined with a liquid, it forms a network of proteins that, if handled roughly (e.g., beaten vigorously) will become tough by bonding together. This toughness will evidence itself in a tendency to become rubbery.
[…] If you have the time, refrigerate the batter for an hour or so, which allows any lumps of flour to slowly dissolve, and makes or a more fluffy, flavorful batter.
It is this book that taught me to try using pastry flour for waffles and pancakes – which is amazing, but not quite appropriate for this post.
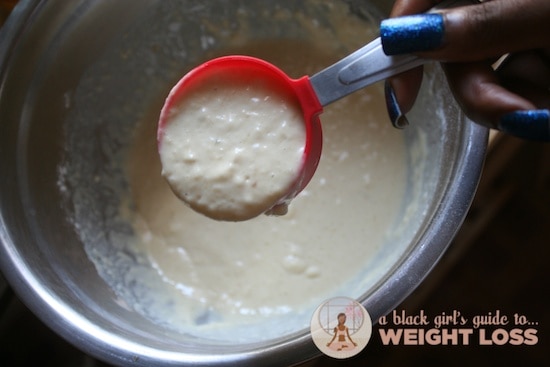
This is what a good batter will look like, before you “rest” it. If you’re in a rush, a good 5 minutes can make a huge difference.
Here, is where you’ll get your skillet (or griddle!) ready. Proper heat is important for pancakes – too high, and you’ll burn the outside before the inside has the opportunity to cook. Too low, and all your pancakes will wind up running and merging to form one super pancake that the family will have to fight over. (Trust me. Eddy still has a fork mark on his left hand for trying to take too much of “the family pancake” one day.)
I’ve found that a good, pre-heated medium heat skillet works super well for this. My giant non-stick skillet, with a smidge of organic canola oil rubbed across the bottom of it, worked wonders to keep my pancakes from tearing and scorching.
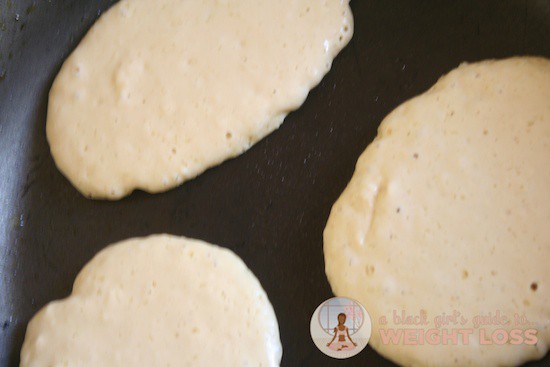
Using a 1/4th cup measuring cup, scoop out portions of your pancake mixture and pour them into your skillet.
The size of your skillet and the spacing of your pancakes will determine the shape you get. Mine always wind up looking a little like eggs if I pour them too close to the sides of my skillet, so I have to be careful.
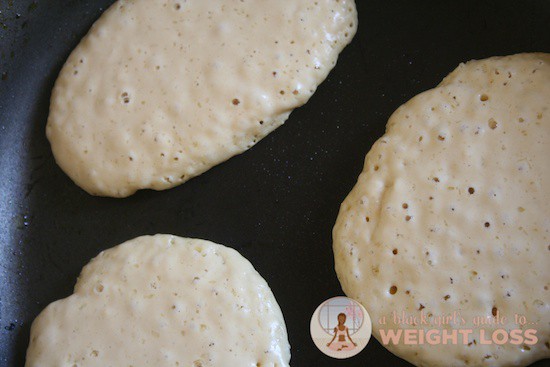
Lots of people struggle with when to flip their pancakes. Don’t overthink it! You want the tops of your pancakes to look like this photo before you flip them – the sides of the pancake are firming up juuuuust a tad, and bubbles are forming on the top of the pancake, letting air and heat come up and through the cake, cooking them a little more. Make sure you’re also very in tune with the scent coming off the skillet – nobody’s here for burned pancakes.
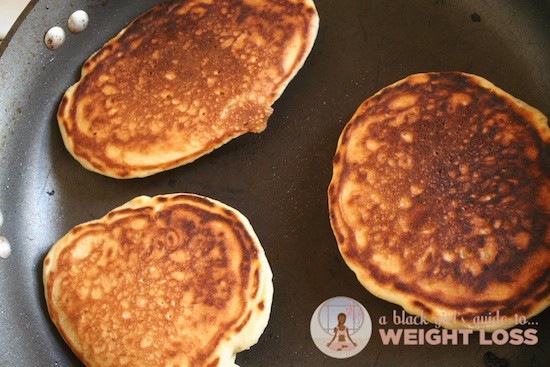
Flip ’em with a nice, long spatula.
You’re almost there.
Give it a minute or so – literally, at this point the skillet’s hot enough that you won’t need more than that – and then toss ’em on the cooling plate. Remember, what’s most important is that the outsides of the pancake are cooked – because it’s so hot, the insides will undoubtedly continue to cook while resting on the cooling plate, so don’t worry too much about that. (Don’t be afraid to cut one open to make sure, though, just to be safe.
Continue this process until you have your nice, full stack of pancakes going on.
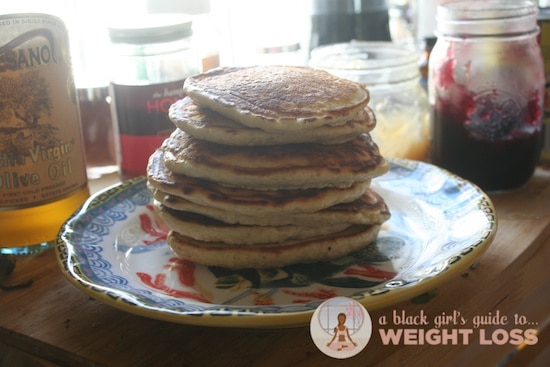
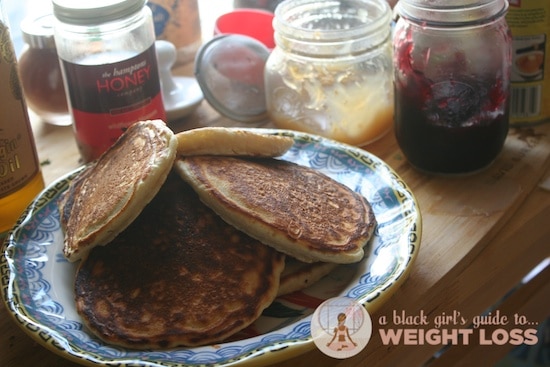
Uhh, don’t stack them like this, though – be neater than me.
Much better.
Now, we all know how I feel about pancake syrup. And, while a good maple syrup – where the only thing on the ingredients label is “maple syrup” if it even has an ingredient label – can work wonders on a stack, I’ve got to wonder:
Where the hell is the fruit?
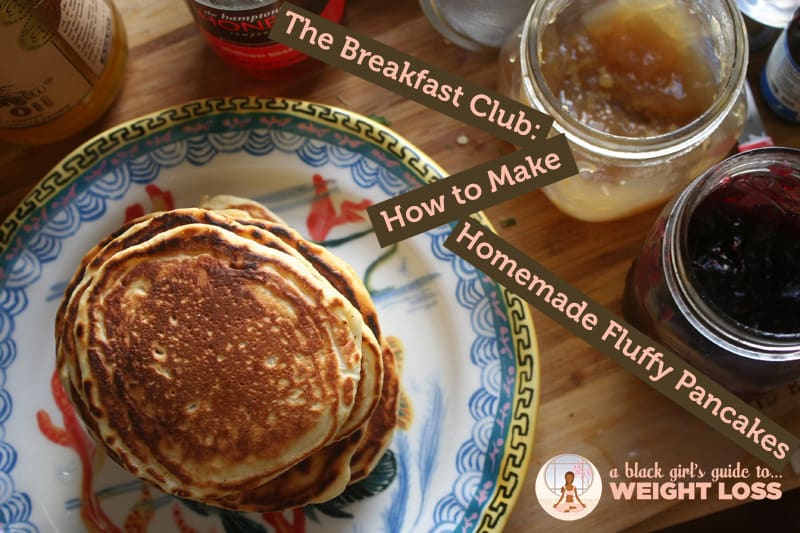
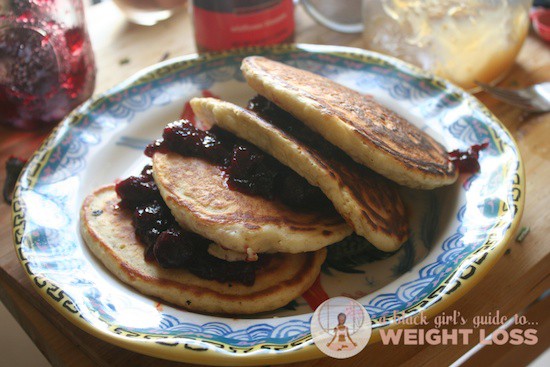
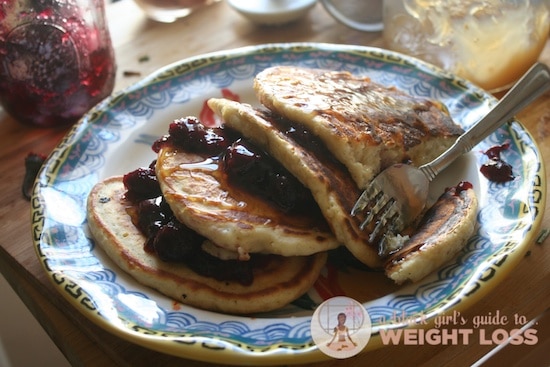
Aw yeah, aw yeah. Homemade dark cherry jam, a quarter pad of butter, and a warm, fluffy pancake, so soft you don’t even need a knife? Winning.
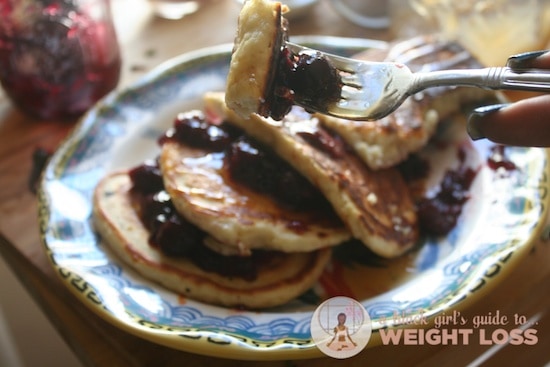
Take a bite.
I insist. (I’m your pushy sabotaging aunt today, apparently.)
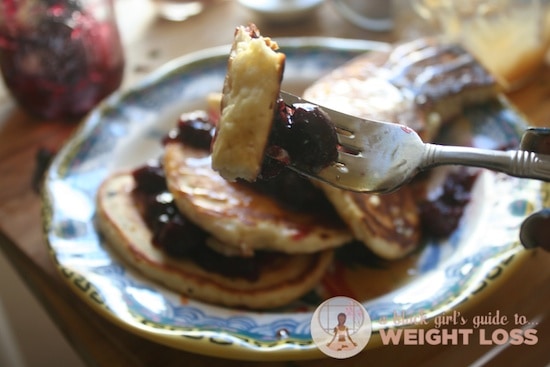
Say ahhhhhh…..
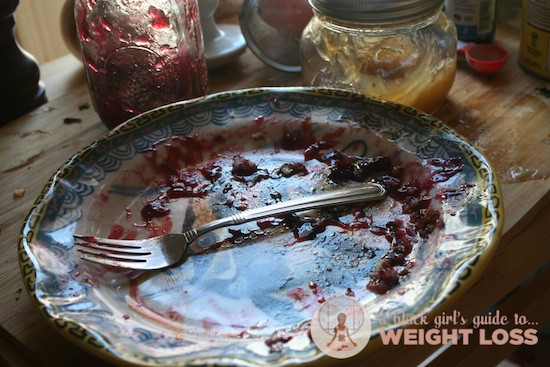
Well, damn. I didn’t tell you to eat my whole plate!

5 comments
I needed this recipe badly! I love my protein pancakes but don’t want to add protein to a processed pancake mix. Plus I would rather use the wheat flour I have. Thanks and I love this blog because it deals with the most important part of healthy living which is the mental part.
i enjoyed your pancake recipe! i’ve had to learn some things the hard way about making pancakes. i love wheat ones, and it seems that all the wheat ones have some amount of white flour in them. some times i make them from scratch where i’ve adapted a recipe but sometimes i just get a buckwheat brand or something.
Yup, I am going to try this recipe.
I use a marked squeeze bottle to ensure the perfect portion size, and to get the nice round shape.
I’m totally going to use your recipe and sub coconut oil for butter and white whole wheat flour.
Also, remind me never to come between you and family pancake, lol!!
Thank you so much for this recipe, I also really like your site. Take care, xoxo
Comments are closed.