

…and, don’t worry – nobody’s gonna throw shade if your boo is you!

Look. All I’m sayin’ is that sometimes… chocolate is in order. And, if you’re like me, you want it to be worth it. You want the experience to be worth your time, your energy, your time in those running shoes, and most of all, your money. And good chocolate doesn’t come cheap.
When people tell me they’re a chocolate addict, I instantly ask myself “what brand of chocolate” they enjoy. Oftentimes, it’s a Hershey-esque or Reese’s-esque brand, which – I’m sorry to say – isn’t much in the form of chocolate, at all. (For the record, no, milk chocolate is not chocolate.)
The chocolate truffle recipe I originally started with came from Mast Brothers Chocolate: A Family Cookbook. Every single recipe in this book contains chocolate in some form. Chocolate cake, chocolate mousse, chocolate and butternut soup, just…. all chocolate everything. And, while I love a good Brooklyn Blend just as much as any transplant-who-buys-one-of-everything-that-says-Brooklyn-on-it, I still want to control how much sugar goes into my chocolate.
Besides, knowing how much sugar goes into a delicious bar of chocolate is half the battle of detaching myself from it, right?

For this recipe, I started with a brick of 100% pure dark chocolate.
Don’t get excited. It tastes like absolute sawdust.
No, really. It’s mad unpleasant.
It’s also hard as a brick – it’s pure chocolate, there’s no cream, no butter, no salt, no sugar, no preservatives, no nothing to make it smoother or more malleable, so… you could throw it and literally break someone’s kitchen window.
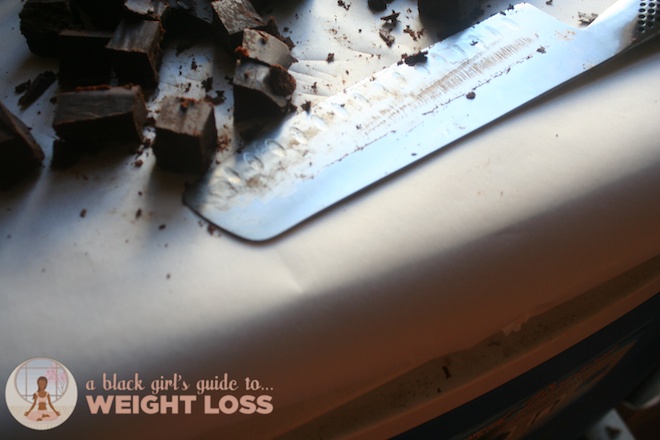
You’ll need a tall, strong chef’s knife to do this. It’s literally a soft rocking motion of scraping the shavings of chocolate off the side of the brick. Be careful. I mean it.
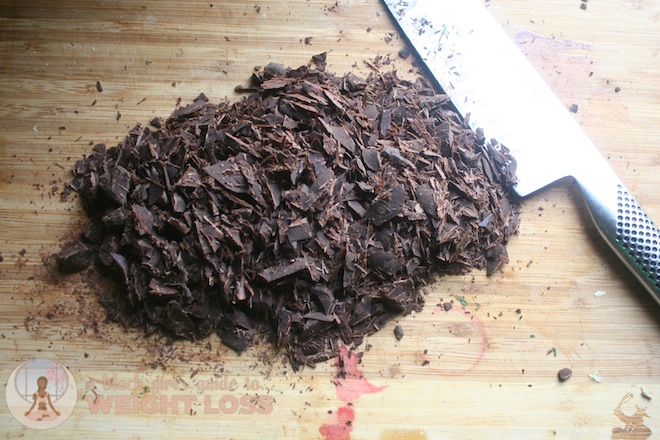
Start with six ounces of chocolate. You’ll want to have a bunch of tiny pieces – not chunks – for this. Chunks don’t melt well, and you run the risk of burning the already-melted chocolate just to melt the insides of the chunks.
From here, we’re going to employ a makeshift double boiler method. This is what you’re doing when you take a stovepot, add a few cups of water, and then place a mixing bowl on top of that water. You can see it more clearly below.
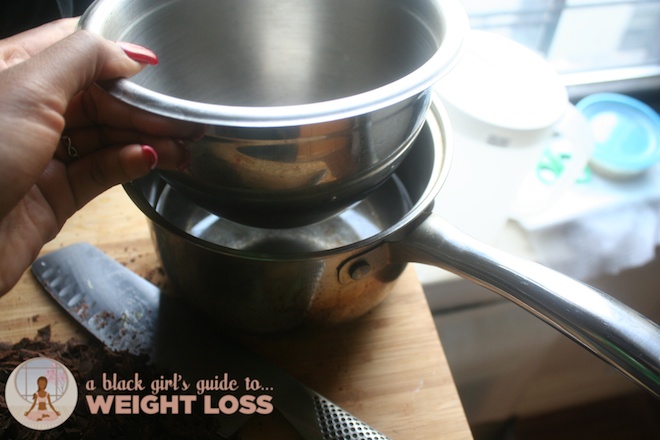
What this does, is it allows the chocolate to heat up without direct heat being applied to it. Direct heat can be too much for pure chocolate, causing it to alter the taste of the final product and leaving you with burned chocolate.

Ideally, you’ll have a mixing bowl that’ll fit perfectly inside your stovepot, to the point where the outer lips of your mixing bowl fit neatly over the sides of your stovepot, which prevents any water that might boil out from getting inside your chocolate. (If that happens, you can either simply stir the water into your melted chocolate, or you can tilt your mixing bowl to the side and let the water pour out. Because the water is so much more liquid than your chocolate is, your water will be out of the bowl long before your chocolate will.)
If you don’t have that kind of bowl, don’t feel bad – I’ve definitely used a non-ceramic, heat-safe food bowl to melt chocolate, before. I’ve even used a little ramekin before, only failing because too much water got into my bowl.
(I inadvertently avoided this by buying all of my cookware in one large set, which meant that a lot of the pieces were already fitted for one another. You can look at cookware sets on Amazon through this link here, and if you purchase using any of my Amazon links, I get a few pennies from the sale.)
You should have enough water in your pot for the mixing bowl to touch the water, but not so much that pressing the bowl down into the water causes the water to spill outwards. If there’s too much water, it’ll spill out once it begins to boil. If there’s not enough water, then you’ll eventually burn the pot.
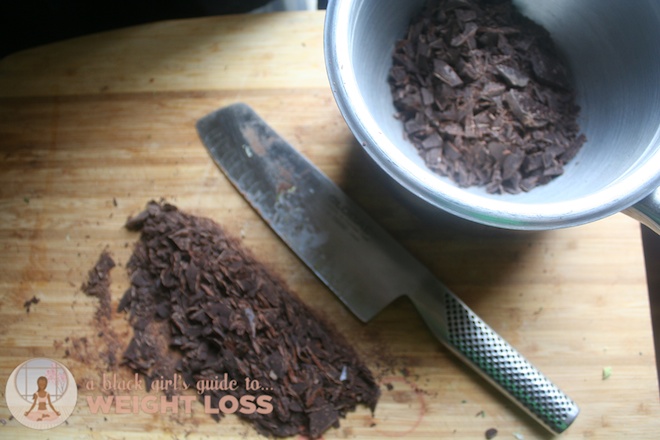
Start to scrape your chocolate into your mixing bowl, and put your double boiler on the stove with medium-low heat (a three on a scale of 1-10.) Eventually, you’ll get…
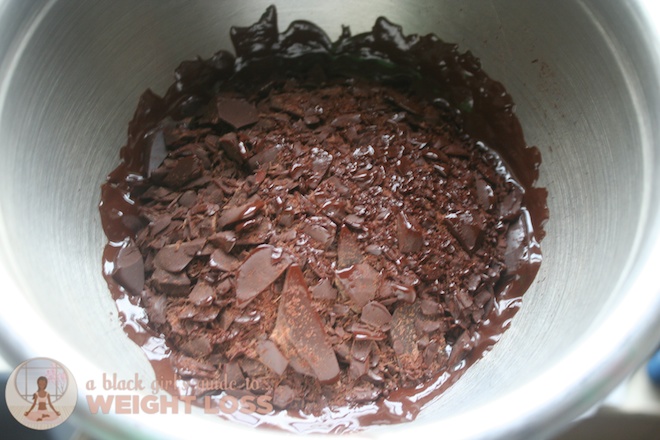
…which eventually looks like…

…melted chocolate! Don’t be fooled, though. It still tastes like sawdust.
Now that we’ve melted down our brick, it’s time to alter the texture. Keep an eye on the water in the pot underneath your mixing bowl, though.
If we were to let our melted chocolate harden back up just like this, it’d go right back to being brick-like. All of our hard work would be for naught. So, we have to, essentially, cut our chocolate with a few things that’ll make it easier for it all to harden without being bricklike, and have more of a smooth texture as opposed to a tooth-chipping one.

For this, we’re going to use heavy cream and butter. (I know, gasp, right?) We’re also going to use your sweetener of choice: brown sugar, honey, or maple syrup.
Take two tablespoons of butter, and melt them down in a separate skillet. To this, you’ll add 2tbsp of whatever sweetener you prefer and one tablespoon of almond extract (if you have vanilla and would rather use that, that’s fine, as well), and whisk them together, then pouring them into your mixing bowl with your melted chocolate.
Take a half-cup of heavy cream, and pour it into your bowl. It should look kinda gross.
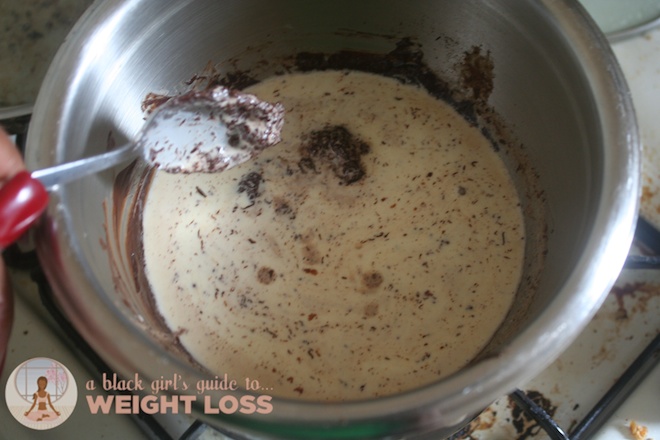
Take a whisk, or a fork, and very lightly begin to blend everything together. It should look much creamier, now. Add a couple of pinches of sea salt to the batter, and whisk it again.
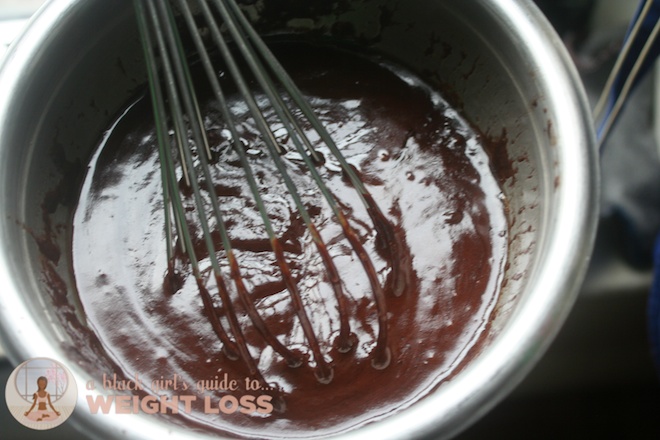
Ladies and gentlemen, this is how you make ganache. Strictly chocolate and fat, with maybe a smidgen of sugar and salt? The original chocolate bars were ganache. Kudos for taking it back, old school.
Now, you’ll want to taste it. Is it sweet enough for you? Could it use a few more things? Want to add real almonds or maybe chunks of fruit? Get fancy.
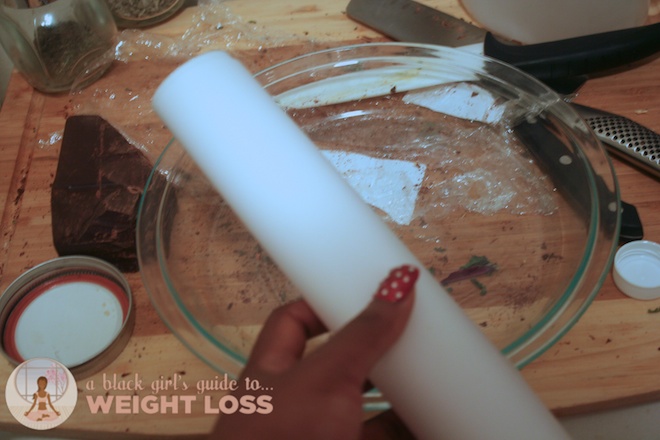
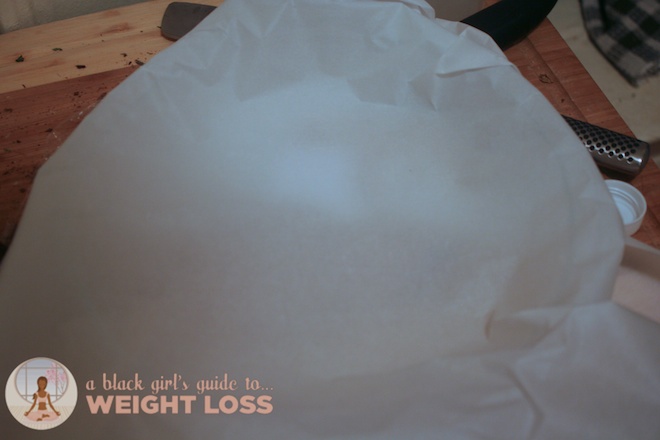
From here, you’ll want to take a pie plate (or a baking pan, it’s really up to you to decide) a piece of parchment paper large enough to cover your entire dish.
Wrap it around your entire dish.
Dump in your melted chocolate mixture.
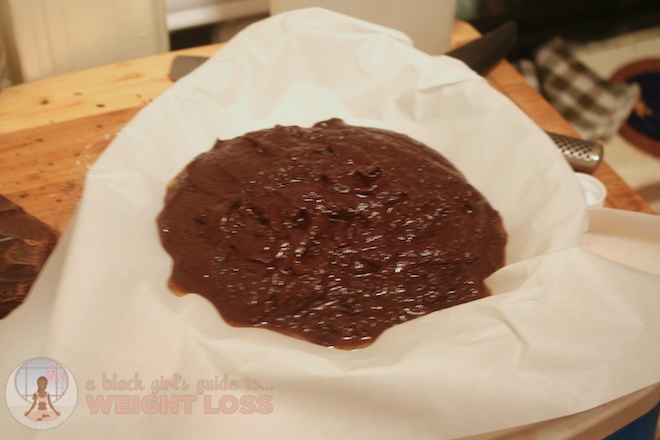
Set it aside in the freezer for a few hours.
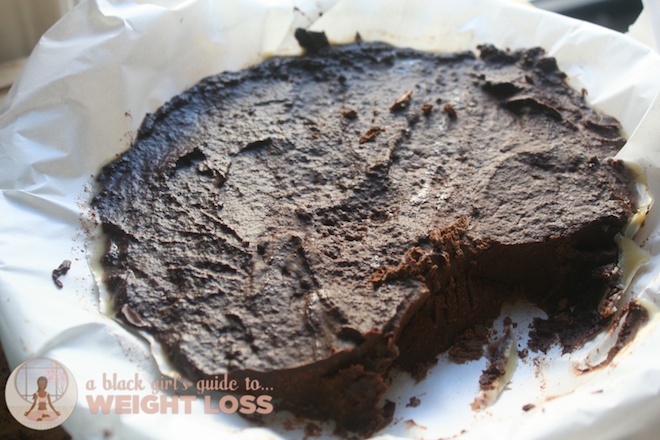
Try to ignore all the fork marks that Eddy and Mini-me left in my darn chocolate.
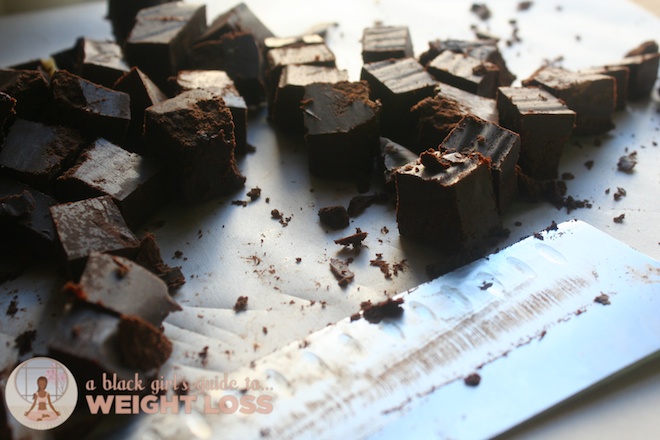
The reason you do this in parchment paper is because you eventually have to pull it out of the freezing dish, and flip it upside down.
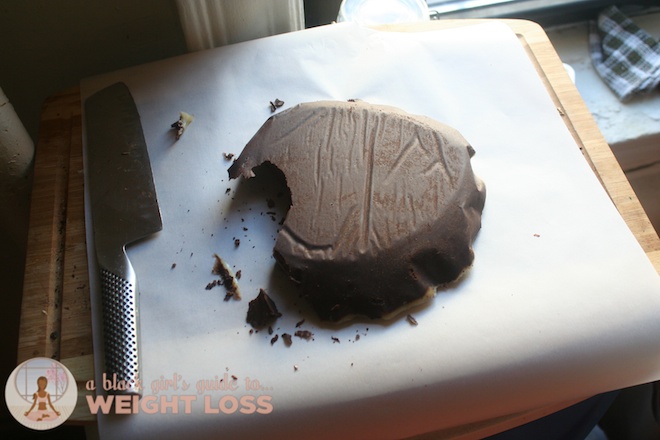
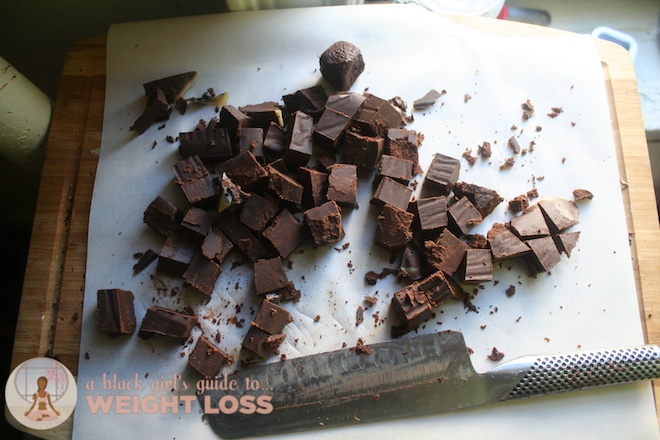
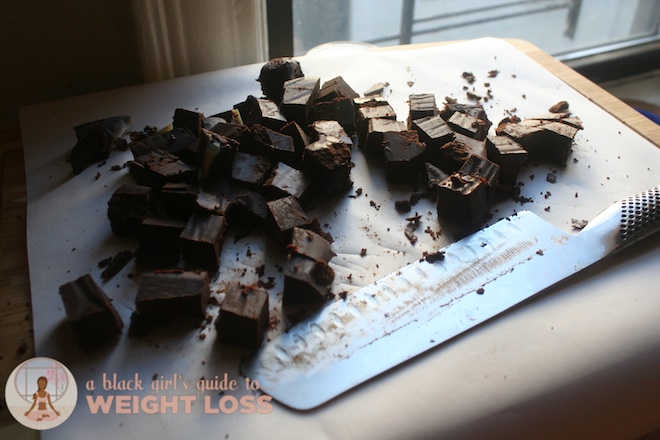
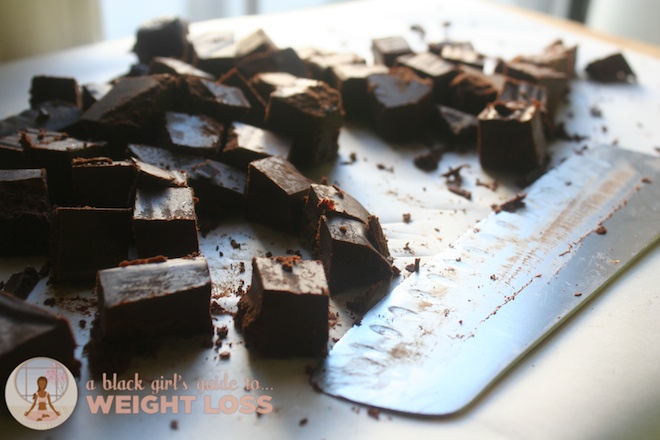
And, with your giant massive, super huge knife, you’ll cut this new-fangled brick into giant chocolate squares.

And, if you have it in you, you can shape them into chocolate balls, with a little bit of cocoa powder, salt and sugar on the outside. The chocolate salty balls you usually see in stores usually are dusted with that kind of combination.
I, personally, don’t need my truffles to be round for them to be epic.
Even if they’re square, you can toss them in a coating of cocoa powder (which you can also make from that brick of chocolate you once had, if you had any leftovers) mixed with ground up almond flour or the flour of any nuts, for that matter.
I made these for the family one day, while Eddy and Mini-me spent the day playing Tekken – yes, Tekken – and, not only was it fun and, in some ways, cathartic for me to experiment with the thing that I once couldn’t control my consumption of, but it was nice to have another recipe to add to my belt of things I’d learned how to make myself.
You can try this with ginger, scotch bonnet peppers – yes, yes, yall! – with bourbon, with chopped berries (whole ones contain too much water and would negatively affect the texture of the truffle), and with just about anything you desire.
If you make these the first time and they’re “too hard”, chances are high you didn’t add enough cream or butter to the mixture. You could add water, but water wouldn’t contribute to creaminess as much as it would simply softness, and replacing the cream with water would only result in sweet sawdust. The creaminess is what makes the truffle, so if the butter or cream makes you queasy, this recipe simply isn’t for you.
If you make these and they’re too soft, all isn’t lost. Since ganache is pretty much the start of chocolate mousse, you could always simply make that. Blending together 1 cup of heavy cream, a fourth of a cup of water, and 3 egg yolks, and then whisking that into your re-melted chocolate chunks will give you a delectably rich chocolate mousse.
If you make these and they’re not sweet enough for you, get a bit of brown confectioner’s sugar (or put your own brown sugar in a spice grinder) and toss your truffles in that.
With raw chocolate, the world is literally your oyster. So, go forth and make delicious happen! Both you and your boo should love it!