Sour dill pickles are shockingly easy to make. And, whereas they usually require a fermenting process of several weeks – something we’ll discuss in another post – today’s recipe takes maybe 25 minutes and can easily be done while manning other tasks in the kitchen.
As a part of my partnership with Glass Is Life I’m doing what I can’t to show people how to make the most of glass in their home. Glass Is Life, is a movement that encourages choosing glass more often in our everyday lives. Recipes like this – ridiculously easy, supremely simple, insanely delicious – will keep you coming back for more of your own pickles, and will help the environment at the same time.
I love a pickled cucumber. I mean, love. Whenever I get that random desire for something sweet, I go right to the pickle jar and grab one of these little guys. The tart, the bitterness, the flavor… it’s usually so surprising that I forget whatever sugar craving I had, or why I even had it to begin with.
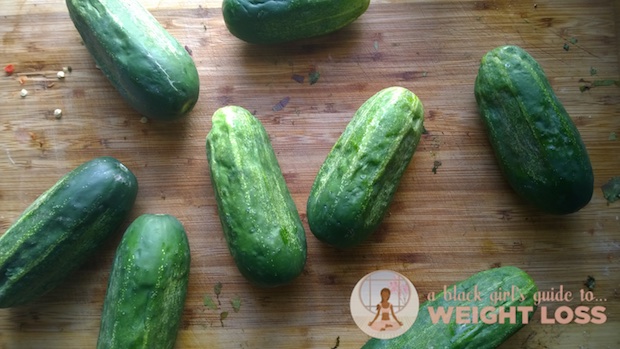

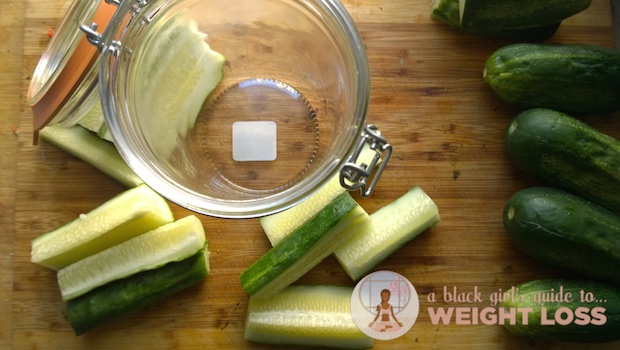
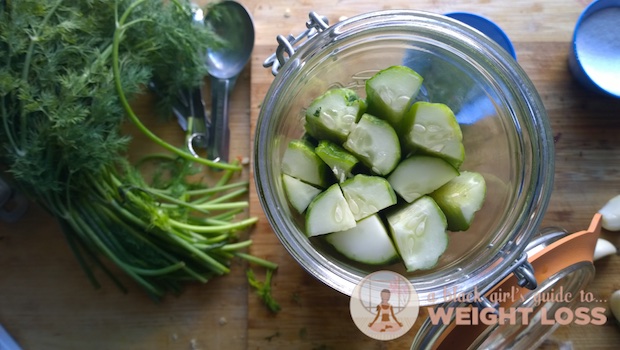
We start with these kirby pickling cucumbers. These are the standard for pickling – grown to just the right size to fit inside of the average pickling jar, big and juicy, able to take on any flavor you throw at it. Kirby cukes are just… the best. Fighting the urge to not drool as I type.
That being said, if the regular-sized cukes are on sale, and you want to pickle those… you can. You’ll just have to cut them down to size – possibly in half – once it comes to that point.
The first thing you’ll do is boil your pickling jars. This is important because you’ll need to ensure that the jar is completely sterile, so as not to invite illness. When jars aren’t fully sterilized, and we’re dealing with uncooked food, you’re playing with food borne illness. And, while it might seem rare, it’s still an unpleasant and wholly avoidable experience.
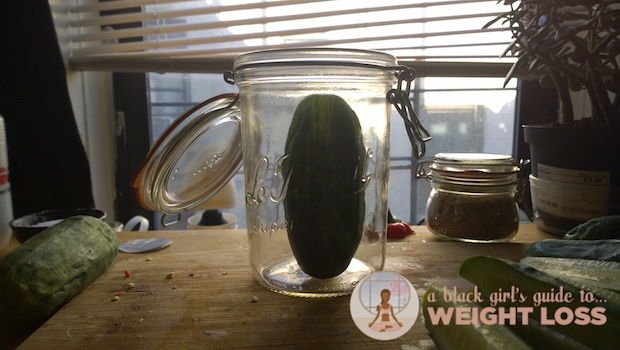

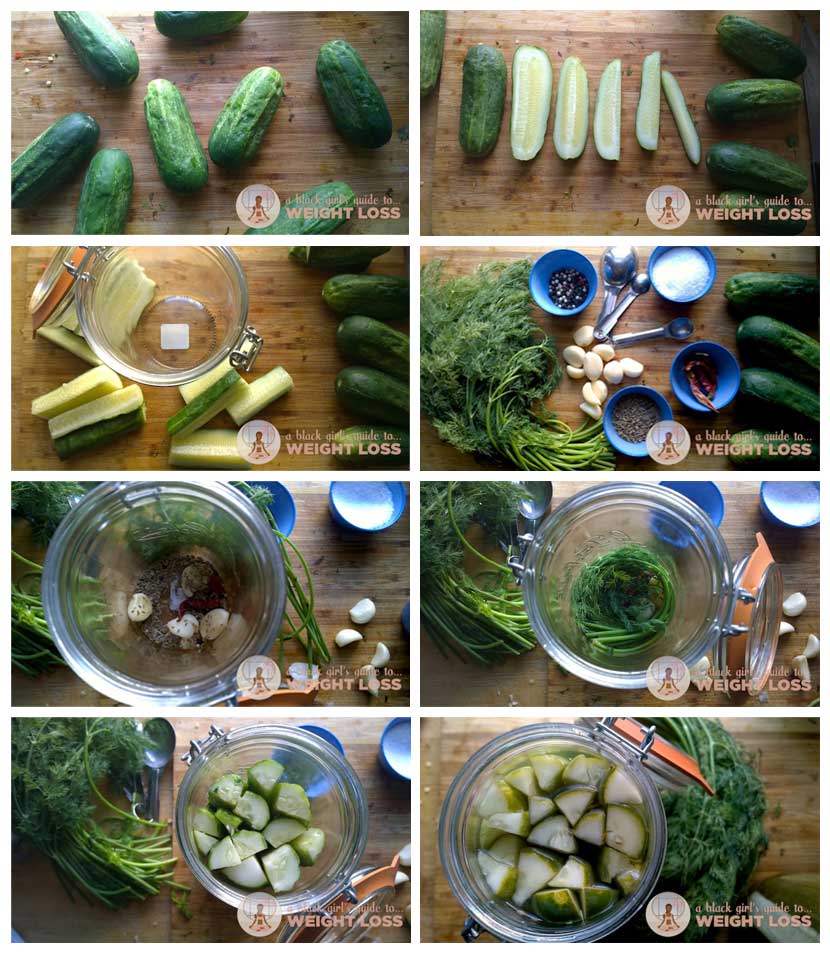
Your first step is to measure your cucumbers in comparison to the size of your jar. There should be a good inch between the top of the cucumber and the top of the jar – we’ll be adding spices as well as herbs and other fragrants to the jar, and there needs to be space for it all. If your cucumbers are too tall, cut them down until you have that inch of headway. Although, for continuity’s sake, you should try to cut both sides of your cucumbers, no one will fuss if you don’t. After you’re done measuring, bring your sterilizing water to a rolling boil, drop your jars in, and leave ’em there.
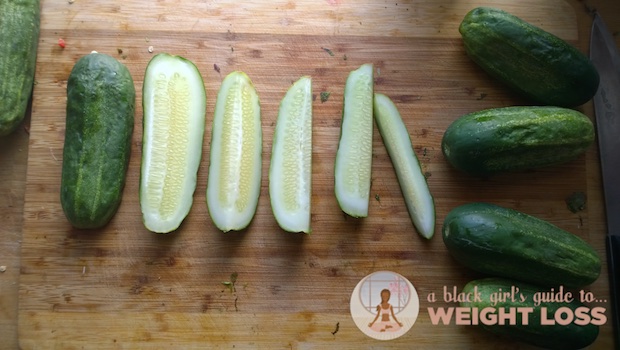
Cut your 4 kirby cucumbers. Cut your whole into two halves, then cut your halves into halves, and so on until you have nice-sized spears.
Your next step involves 3 cups of vinegar, three cups of water, and 3 tablespoons of salt. Pour them all – in that order – in a large saucepan, and bring them to a boil.
Bring out your jar, and dry it off.
It’s time to get a little creative, here.
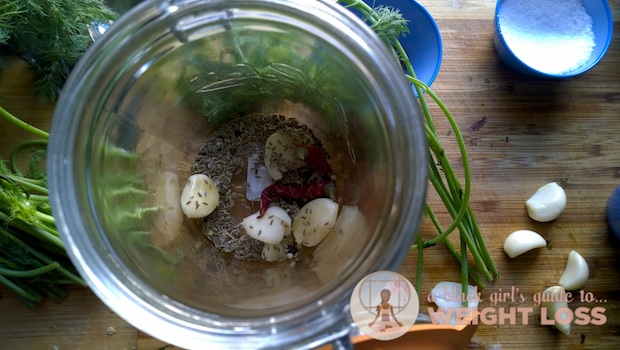
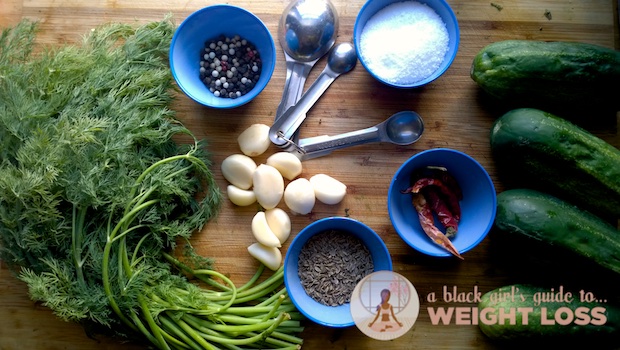
In each jar, you’re going to place 2 dried chili peppers, 4 cloves of mashed garlic, 1.5 teaspoons of peppercorns, 1 tablespoon of dill seed, and a few stems of dill.
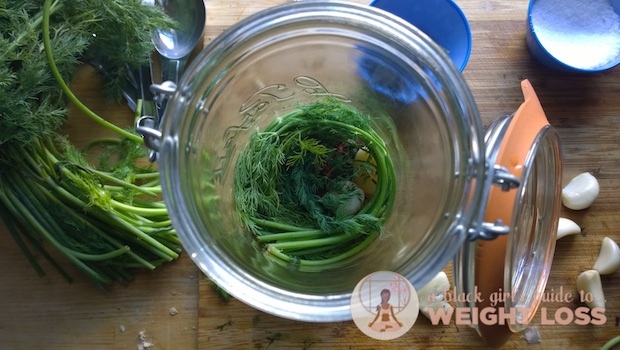
Looks like a nice nest for some delicious pickles, right?
Start to squeeze ’em in the jar. That boiling batch of vinegar and water, also known as a “brine?”
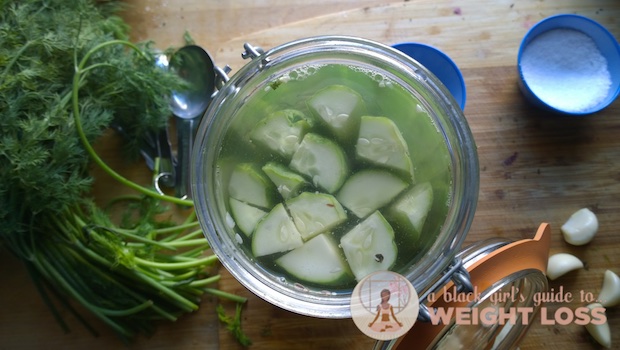
Slowly ladle that brine over the top of your pickles into the jar. Fill the jar as far as it will go without spilling over. And, just like that, you’re done. Seal your jar, let it cool down completely, and once the jar is lukewarm to the touch, put it in the back of the fridge to let it chill.

You now have delicious, sour dill pickles. And, if you’re anything like me, your childhood will thank you!
if you want to learn more about Glass Is Life like them on Facebook, or follow them on Twitter
Did you love this quick and easy recipe? Share it on Pinterest! I made this handy little photo to share the quick-and-dirty with your followers!