


As much as I love my collards – and they will come later in the week – I also love my different varieties of kale, too! In fact, there’s nothing better than hitting up the farmer’s market, and finding the lady that sells her dark-n-leafies at a rate of $5 for three bunches of whatever I want.
I’m just saying. Don’t be surprised if you see me tootsie rollin’ down the aisle at the market, is all.

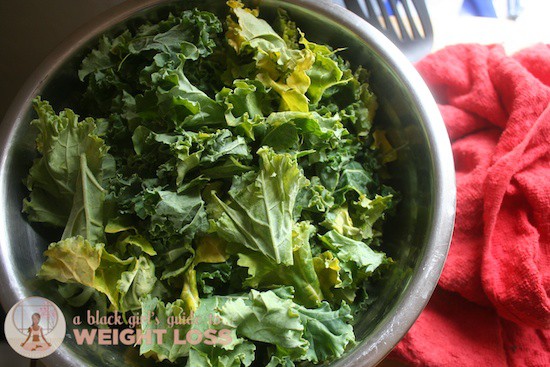
In the photo – three different kinds of kale, one obviously on its way out!
What is kale, and how does it taste?
Kale is like your average collard green’s weaker, wilder-looking cousin. The leaves aren’t as sturdy, the veins aren’t as rigid, and the stem isn’t as strong… but it’s close.
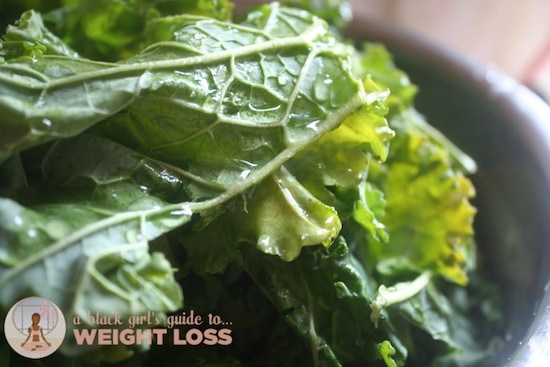
Like you can see in the pictures above, there are multiple varieties of kale, many I don’t even know by name – but I know them by flavor. The darker the color, the richer, deeper and more vibrant the flavor. Kale has always had a bit of a peppery taste to me – a bit more bite than just smooth flavor. Though kale harvested in the summer is far more bitter, it’s still got a delicious workable flavor that’s filled to the brim with vitamins and nutrients.
Kale is definitely a nutrition powerhouse. Tons of vitamin C, K, and A, not to mention more calcium and iron than you can normally expect.
How do I choose quality kale?
So, with dark leafy greens, it’s a bit of a toss up. There’s lots to avoid, but sometimes avoiding everything will result in you never taking fresh dark-n-leafies home. You could also do what I oftentimes find myself doing, and snapping up a pound of frozen kale from the frozen foods aisle – they’ve done most of the work of rinsing, cutting and pre-cooking for you, anyway.
But, for those of you who want to brave the fresh stuff, I’ve got a few tips on what to look out for. When it comes to things to avoid when choosing fresh kale, you’ve got to look at the edges of the leaves. Are they dry, frayed, browning? Are they wilted, failing to hold any shape? Do you see any yellow spots? These are all signs of kale that either wasn’t properly cared for before being brought to market, or it has simple gone through the proverbial gauntlet over the course of its life. Look at the leaves, look inside the bunch – if it has more of those negative components than you’re comfortable with, then don’t buy. If not? Score!
How do I store my kale after I’ve bought it?
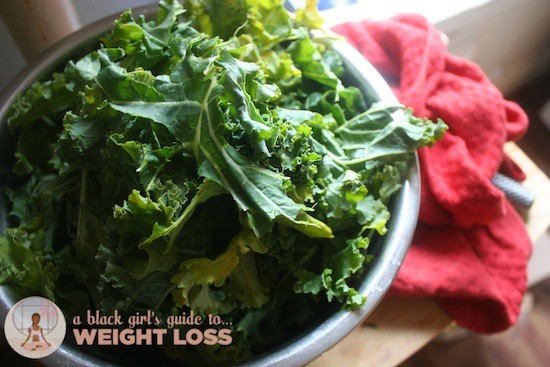
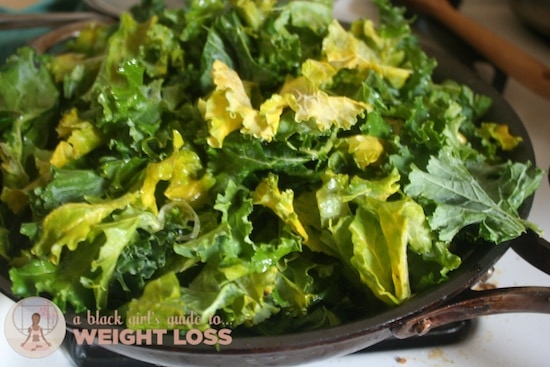
So, if you’ll look back up at that picture above with the golden yellow kale up there, you’ll wonder what kind of mutant junk did I buy. Oh, I didn’t buy that. I stored it improperly (uh, on purpose. Totally demonstrative. Of course), which resulted in it turning yellow. What I learned, is that certain fruits and veggies give off ethylene gases which affect the way certain foods ripen. (If you think about how storing an unripened avocado in a paper bag with an apple ripens the avocado, this is essentially the same effect… it’s just that with the avocado, you get guacamole. With this, you get ruined kale.) In short, you want to keep your dark-n-leafies separate from your apples, bananas, stone fruits (peaches, plums — things with a stone in the center) and such. If you’ve got two separate drawers in your fridge, keep your greens in one drawers, and your fruits in the other.
Kale also freezes really well, cooked or uncooked. Uncooked kale takes up a ton of space in the freezer, though, and therefore should be blanched (remember, blanching is the process we put the brussels sprouts through before we fancied them up!), cooled and stored in a giant sealable freezer bag.
How do I cook the kale I’ve bought for the Clean Eating Boot Camp?
So, soooo many times, I’ve eaten “sauteed kale,” only to feel like I was really eating “oil with a little kale,” instead. Leaves dark and depressing, dripping with oil. I don’t want to pick up a forkfull of kale and have oil drip down onto my plate. Ever. And, since I suspect that I’m not the only one, I’m going to show you how I make something I call, “skillet kale.” It’s something like steaming, but not quite. It’s… sort-of sauteed, but better – full of flavor and a bit lighter on the calories, too!
Take your kale, and look through the individual leaves – if you get even the slightest hint of sand, dirt or a bug, then you need to wash through your kale. I’ll tell you the point in the process where you need to do that.
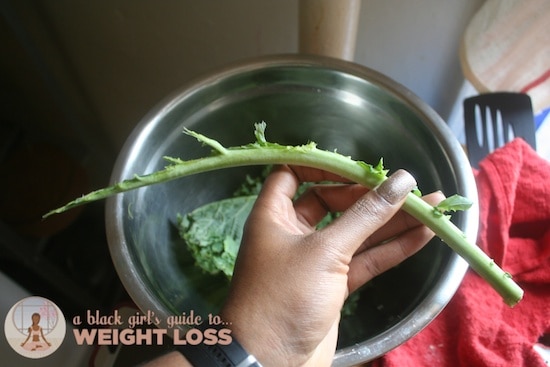
For this part, you’ll need a tall mixing bowl and a sink. Take each tall leaf, and run it under the water. Using your hand, rub your fingers across each side of the leaf, ensuring that you scrub off any dirt you see. From here, you’ll tear each leaf from the long rib down the center.
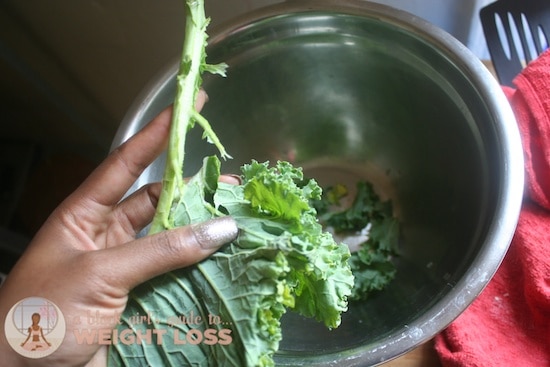
If you’ve got an old school Gramma like I do, then you’ll know what it’s like to see her in the kitchen with a knife, meticulously cutting every single piece of leaf away from that rib. As much as I love my Gramma, ain’t nobody got time for that.
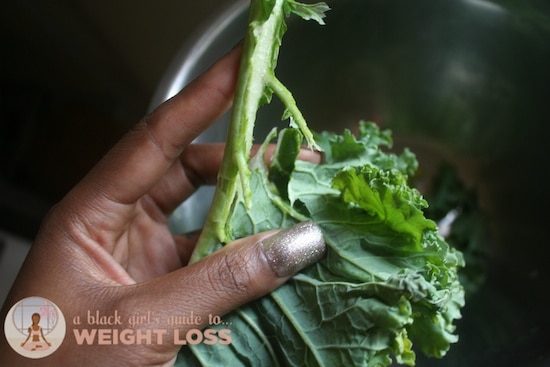
The rib is too rigid to eat for this preparation, but once you get it completely clean…
You can set them all aside in the freezer to use as a part of a stock.
Once you’ve finished, you should have a beautiful stash of massive kale leaves. Run your hands through it all, just tearing each bunch in half as you go through. Think of what it’ll be like to eat those giant leaves – just a quick, roughshod run through the entire bowl should shrink them down just fine.
For this recipe, all it’s gonna take is water, salt, and a good oil.The almond oil I’m using has a nice rich, smoky, dark flavor that goes really well with kale, but never fear – you don’t need a flavored oil to make this work, but oil is necessary – trying to go fat free is damn-near a waste of good kale. If all you have is a light-flavored oil, then that can work fine, too. Many of the vitamins in kale are fat soluble – meaning, they’ll require a little fat to make them more readily available to the body – so you’ll need some fat, but we also want to preserve flavor, right? Right.
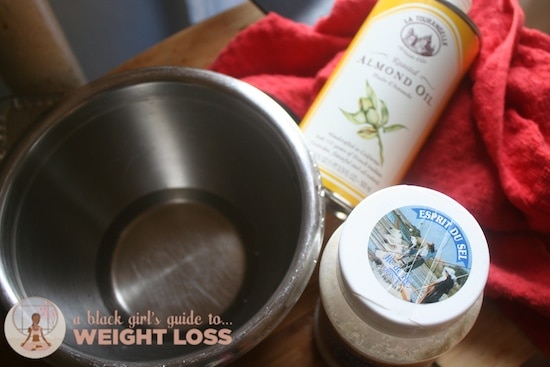
Take your separate bowl, and add about a half-cup of water. From here, add approximately 2 tablespoons of oil, and 1/4 teaspoon of salt to your bowl. 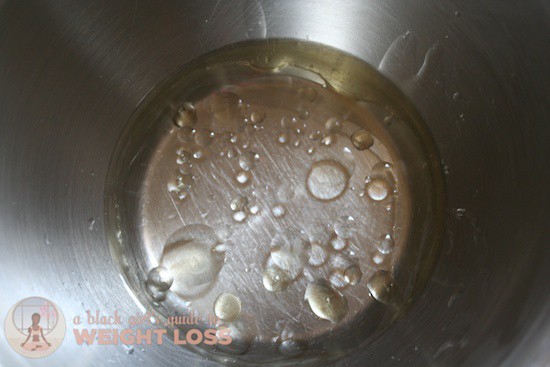
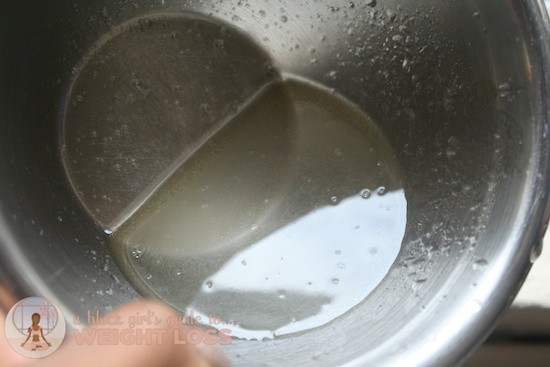
Use a whisk – a fork will do fine, too – to blend the oil and water together, to make a watery sauce. The water might water down the oil, but it will also make sure that more leaves are covered in a little bit of oil – the water will dissipate in the cooking process, leaving well-flavored kale behind.
If you want to add a bit more flavor, add it to this sauce. Want to add some thyme? Oregano? Maybe some minced garlic? Add it to the sauce, and whisk it with everything so that it’s all evenly distributed.
Go ahead and pour this sauce all over your kale.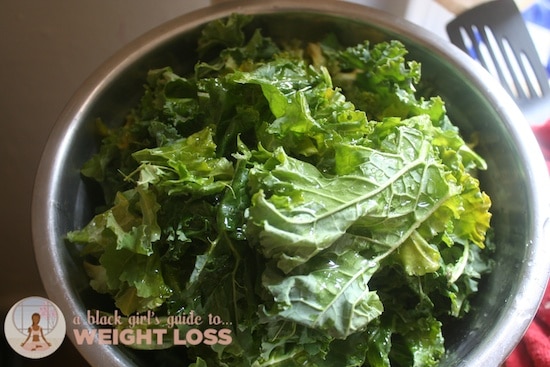
With both hands, reach in and massage the kale into the bottom of the bowl, tossing the leaves with your hands as you bring your hands back up out of the bowl. You can also use this as more time to tear leaves, as well. The liquid will inevitably sink to the bottom of the bowl, which is why rubbing the leaves towards the bottom and tossing them will help distribute the sauce a bit more evenly.
Looks so pretty, doesn’t it?
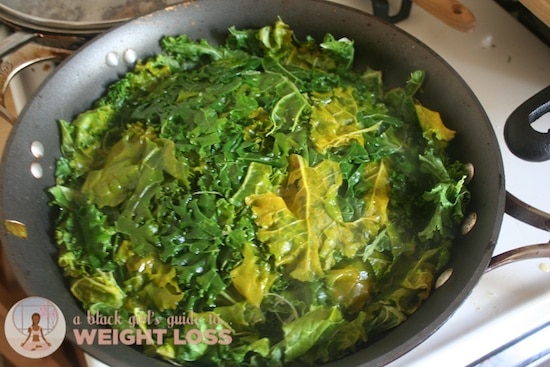
Dump it in your skillet, and put it on medium-low heat (maybe a 4 or 5 on a scale of 10). Take a top to a slightly-smaller pot (or maybe a plate – you’ll just need to carefully use a fork and a pot holder to take the plate off the kale to check on it), and place that on top of your kale. Leave it for about 8 minutes.
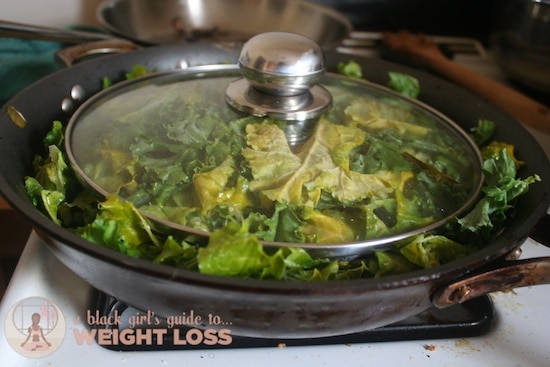
Does your kale have a little hat hair thing goin’ on? Good. Put the cover back on and give it time.
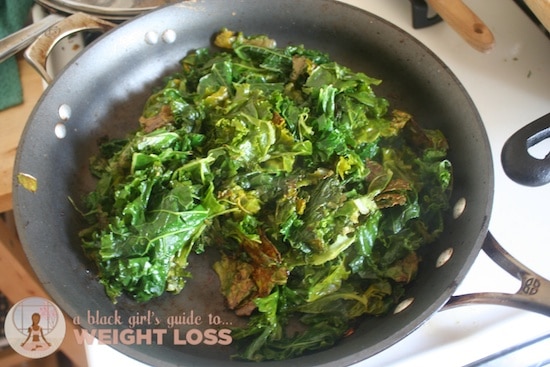
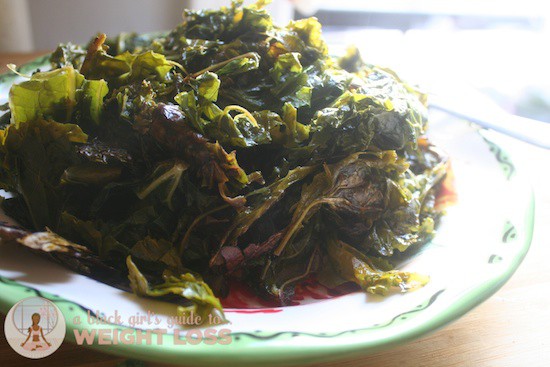
Give it five more minutes. How we lookin’? If you had yellow leaves in your kale, they will look brownish and even may taste closer to a kale chip than to ‘sauteed kale’ in the process. Think autumn leaves – the drier the leaves get, the further away from green they turn and the closer to brown they get. They’re dying. It’s up to you whether or not you eat yellow leaves, but do know that since you’re cooking drying leaves, heating them only dries them out further, which causes a bit of a bitter taste in comparison to the other green leaves. If you’ll see in the picture, you’ve got beautiful greens, and then the wilted ones. (I eat them, though. Wouldn’t even think twice.)
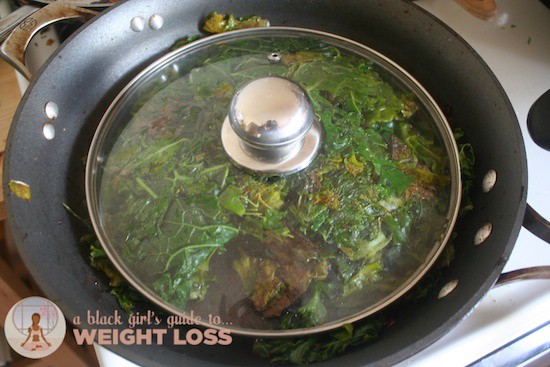
Stir your leaves around, and then cover them again. So far so good?
One more time. three minutes max.
Now, we’re onto something!
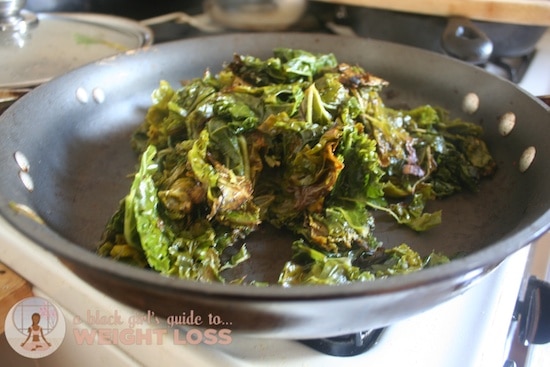
Plate it.
Stare at it.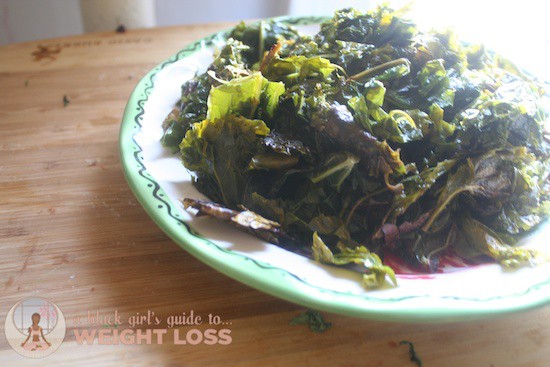
Bassssssssssk in it.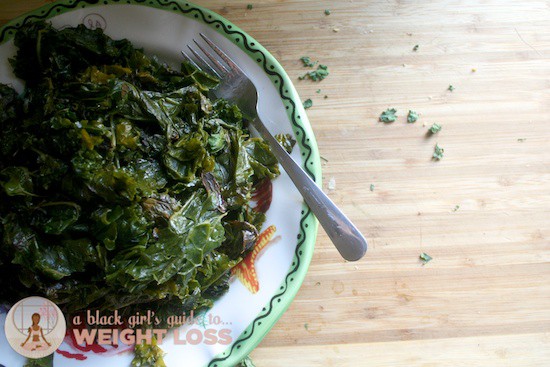
Eat it up.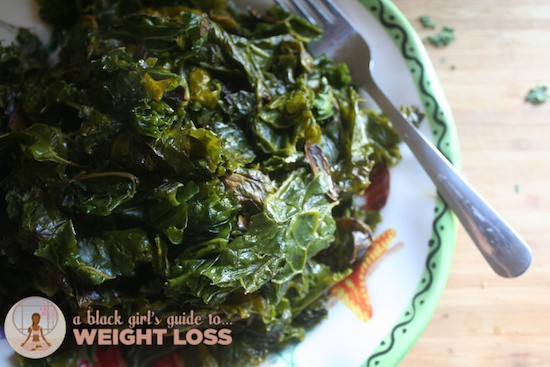
Eat every single leaf.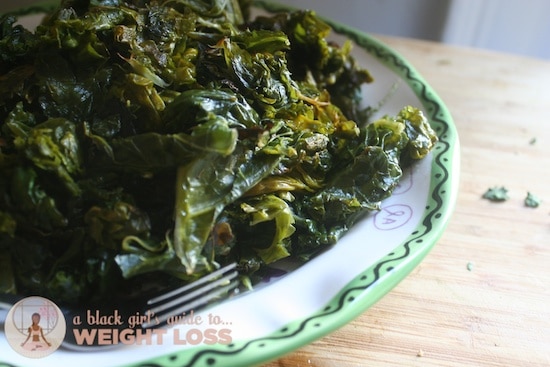
No guilt here. : )